Saturday, September 28, 2013

5 Small Changes to the Hallway Gallery Wall

This past Spring, I hung a gallery wall in our hallway.


I detailed where the art pieces came from in this post and I mentioned a few pieces that I was already anticipating tweaking in the future.  Well, that day came.  Here is the new and improved gallery wall.


Can you spot the changes?

Working from left to right:

1.  I removed the frame underneath the chameleon plate and replaced it with a gold wall urchin.  The urchin really brings out the gold on the plate and, let's face it, it's just fun.


2.  I cut down the ombre art from the frame I had just removed and used it to replace my triangle paint chip art.  I was just not happy with how my first attempt at paint chip art had turned out.  Maybe next time.

3.  I spray painted the plain white frame around my Costa Rica art a rich navy blue.  Much, much better!


4.  I darkened the first word of the "Be Still & Know" ombre art and resized it so that the edges of the words were no longer touching the frame.

5.  I painted over the circle art and used colors that better coordinated with the entire gallery.


These five small changes may not seem like much, but they have definitely improved the overall cohesiveness of the gallery wall.

Before:

After:


What do you think?  Can you tell a difference?  Are you tweaking anything at your house this weekend?

Wednesday, September 25, 2013

How We Built a Floating Fireplace Mantel

Our fireplace was sad.  It didn't have a mantel.  I didn't mind so much until Thanksgiving and Christmas rolled around last year.  Then I realized I had nothing to decorate for the holidays and no place to hang our stockings. (I ended up balancing the stocking holders on top of the fireplace screen...not ideal.)


So, since Thanksgiving and Christmas were again on the horizon, I convinced Seth to help me tackle a DIY mantel.  

If you follow along with us here at Some Like A Project, you may have picked up on the fact that we are drawn to clean lines and prefer what I call a modern organic style (although I also like a bit of glam and industrial and eclectic and...ok, I like it all).  A quick search of my design boards on Pinterest revealed this pin, this pin, and this pin.  Revisiting these gorgeous images cemented my desire for a floating wooden mantel.

Using painters tape, we outlined a mantel on our fireplace to help us better visualize what we wanted so that we could determine our dimensions.  We made sure that the bottom of the mantel was at least 12 inches above the fireplace opening (to avoid a fire hazard from excessive heat exposure).


For the length, we settled on halfway between the fireplace opening and the end of the brick, making our mantel 60 inches long. 

A quick trip to Lowe's and we were ready to start building.


We used the following supplies:
  • two 1x6's
  • one 1x4
  • scrap wood
  • miter saw (or circular saw)
  • six L brackets
  • wood screws
  • cordless drill
  • countersink drill bit
  • wood filler
  • sand paper
  • wood stain
  • polyurethane
  • hammer drill
  • 1/4" by 4" tapcon concrete screws
  • tapcon concrete drill bit
  • level

We cut our two 1x6's and our 1x4 to 60 inches in length.  Using the L brackets, we assembled the top, bottom, and front of our mantel.


It was at this point that we realized our L brackets were too long (see how the board on the left is actually sitting on top of the L bracket that is attached to the board on the right?).


Thankfully, the angle grinder took care of that problem.  We just ground off half of the L bracket leaving one screw hole instead of two.


To ensure that the front of your mantel is "seamless", attach the top and bottom pieces of the mantel to the backside of the front piece (instead of attaching them to the top and bottom of the front piece).  


We then cut pieces for the sides from some scrap wood and attached them with wood screws.


We used a countersink drill bit since we didn't want any visible screw heads on our floating mantel.  We applied some wood filler on top of the screw heads, let it dry, and sanded it smooth.


No seams on the front:


I used Minwax's dark walnut wood stain again so the mantel would match our console table topper.  


Next, we turned our attention to the support structure.  The long piece of wood is what would actually be secured to the fireplace itself using concrete screws.  We wanted a really snug fit, so we cut ours to 60 inches minus the thickness of both the side pieces (I think it was 57 inches).  We attached four pieces of scrap wood to our board to provide extra support.


We used a hammer drill with a tapcon concrete drill bit to make our holes in the mortar.  I think the hammer drill is Seth's new favorite tool.  

(*Note:  We are amassing quite a tool collection.  Tools are not cheap.  We think long and hard before investing in a new toy tool and ask ourselves things like, "Is it absolutely necessary to complete this project?", "Can we borrow it from someone instead of purchasing it?", and "Do we know of another project on the horizon where it will be needed again?".  For this project, we tried to use our cordless drill with a tapcon concrete bit and failed miserably.  We also know of another project that we will be tackling soon where a hammer drill will be needed and so we bit the bullet and purchased the hammer drill.)


We then mounted the frame and secured it with tapcon concrete screws.


Then it was finally time to bring in the mantel!


Whew...it fit like a glove.  We used wood screws and our countersink bit again to secure the mantel to the frame.


After another round of wood filler and sanding, we applied two coats of polyurethane and she was done.


I can not wait to decorate her for Fall.  We've been busy with a few other projects this weekend, but mantel decorating is up next.  Fred the moose will be finding a new home and an antiqued mirror that I made from glass will be replacing him.  I'll have pictures of the mirror and a tutorial post soon.  Here are some Fall mantels that are inspiring me: 1, 2, and 3.  Stick around to see how mine turns out!

Sunday, September 22, 2013

Coleus Gone Wild

I have found a plant that I can keep alive on our shady front porch.  In fact, they are not only alive, they are thriving.


They are different coleus varieties and I am in love.


Aren't they beautiful?


Unfortunately, they won't survive the winter outside here in Tennessee.  They like it warm.  So, I'm going to move them inside when it gets colder and hopefully I can enjoy their beauty a little bit longer.


Has anyone else tried to move any coleus inside?  How long did they survive?

Friday, September 20, 2013

Inexpensive Window Dressing

Like most people who are decorating their homes, we are on a budget.  (By the way, don't you HATE when a blog says that and then shows you a room with a $500+ coffee table, pillows made from $40+/yard designer fabric, and thousands of dollars worth of original artwork?)  So when it came to dressing our windows, I kept costs down with a little bit of research and a little bit of sacrifice.

I found these inexpensive curtain rods from CB2.  They are slim, simple, and modern (not for those who like a more ornate, chunky, or traditional style).  They work for us.


After falling in love with images like this, this, and this, I knew that I wanted bamboo shades layered with curtains throughout our home.  Look at how pretty they are in John and Sherry's first house.  We have multiple dark brown furniture pieces and so I shopped around for some dark brown bamboo shades.  Turns out, they aren't as easy to find as the medium and lighter tones.  So, I made my first mistake.  I bought something cheap and dark brown that I didn't love.  And they looked cheap.


At the time, our trim was still green (from the previous owner) and so I outside mounted the blinds to help cover it up.  It did help make our windows appear larger, but you'll see below that we ended up switching to an inside mount later.

Our windows are 72" tall and I wanted a functional shade.  The thought of a shade that couldn't cover the entire window when lowered seemed odd to me.  Unfortunately, this severely limited our options because 6 ft long bamboo roman shades are pricey.  I admired bamboo shades from lots of different online retailers, but could not find any suitable options less than $50.  With at least seven windows to outfit with these shades, $50 was not going to cut it.  I eventually decided on these.


As you can see, in person they are definitely not as dark as pictured online.  :(  Oh, well.  It's one of those sacrifices I was talking about earlier.  With the trim painted white, I no longer wanted to cover it up and so we inside mounted them with just a few screws like this.  It's quicker and easier than messing with those little brackets they provide. That is, until you drill a hole through the blinds.


Whoopsie.  The good news is that it's covered up by the overhanging part at the top of the shade.  Whew.

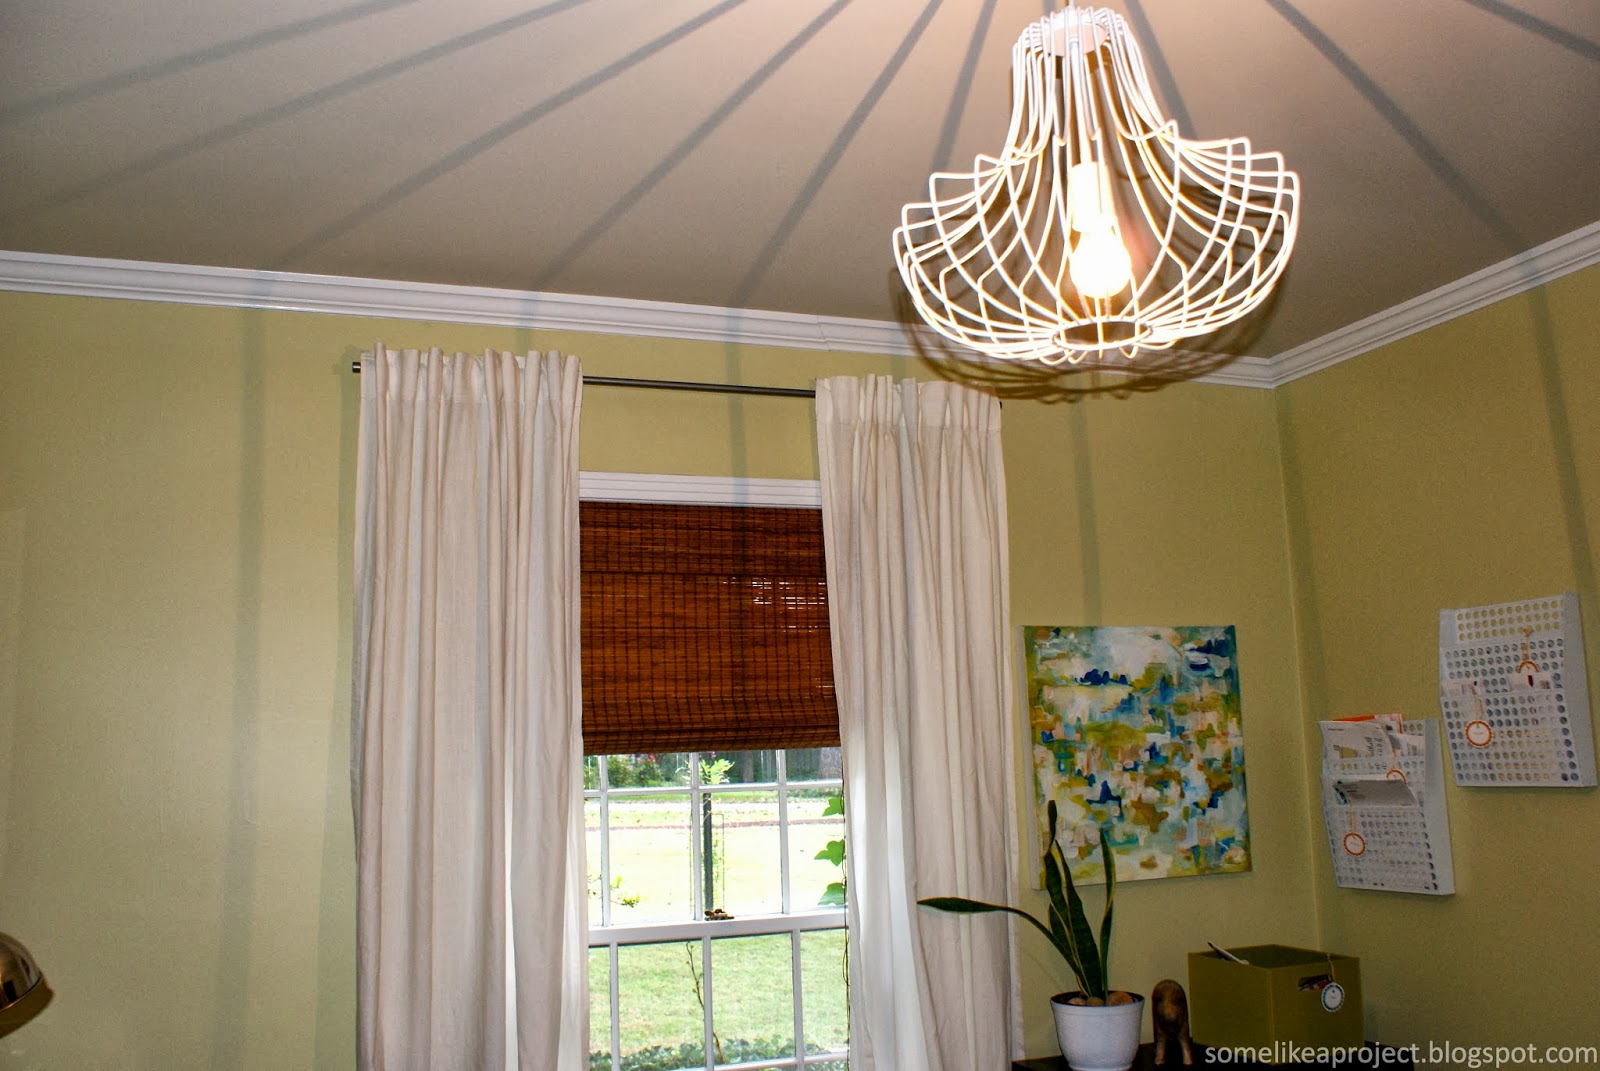
For the living room, dining room, office, and back guest bedroom, we chose Ikea's Ritva curtains.  At $34.99 a pair for weighty, slightly textured fabric, they're a steal.  


Make sure to wash, dry, and iron your curtains first!  Mine certainly came out of the dryer a wrinkled mess.  I found that spritzing them with water as I went along helped tremendously.


In the front guest bedroom, I planned to use the Ritva curtains also, but when we hung them up they seemed heavy and read as too off white for the room (the bright white duvet was really making the curtains look dingy). So, we ended up sticking with the original Ikea Vivan curtains to keep the light, white, breezy look.  (The Vivan curtains are only $9.99 a pair!)


Now for some more finished eye candy.


Much better.  

This weekend we're starting to tackle some projects to boost our curb appeal.  I'm so excited.  It's going to take some time (read: several weekends) so stay tuned for other project reveals including our new DIY floating fireplace mantel that I cannot wait to decorate for Fall!

Hope everyone has a safe, happy, healthy, productive weekend!