Showing posts with label kitchen. Show all posts

Wednesday, April 15, 2015

The Kitchen Has Tile!

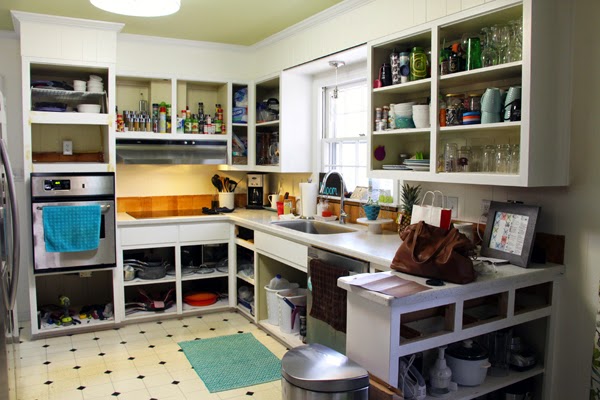
I am so excited to share our tiled kitchen with you today.  (I decided to skip over a separate cabinet reveal/painting post as there are a zillion cabinet painting tutorials out there.) For those that are new here, we recently hired someone to lay a tile floor over our ugly laminate and install a tile backsplash (we previously didn't have a backsplash at all).  We also painted out cream cabinets bright white and added new hinges and hardware for a more modern look and shifted our wall oven down a bit to make room above it for our microwave.  I'll be quiet now and let the pictures do the talking.


We chose a white subway tile with medium gray grout for the backsplash.  I like the blend of the traditional subway tile shape in a modern bright white color with the gray grout.


For the floor, we chose a medium gray 12" x 24" tile with the same gray grout.


It's definitely an amazing transformation from what this space looked like when we moved in.

Sorry for the cloudy day pictures.  It really is much brighter in person.

We still need to fix the gap over the sink where the scallop trim used to be (see photos above), add the floor transitions,

and demo (ugh.....) behind the fridge a bit as it is now too tall to fit in the opening (AGAIN). Poor Seth.


We also need to add a kitchen table and chairs and I have a few small project ideas for the laundry area.  You can read about other parts of the kitchen transformation at these links (painting a chalkboard wallbuying new countertops, a new stovetop, sink and faucetpainting the ceiling and making curtains, purchasing a new wall ovenpurchasing a new vent hood).

Saturday, April 11, 2015

A New Vent Hood

Before we had our handyman install our new kitchen backsplash, I realized that we should probably purchase the vent hood that had been on our list for months.  The last thing you want is a gap in your beautiful new backsplash because you new vent hood is not the same size as your old one.  So I did some searching online, narrowed it down to a couple of options and we pulled the trigger on one after making sure that the grease filters were dishwasher safe (cause if that's an option why would you choose anything else?).

When it arrived, Seth installed it with no problems.

As you can see, it is not as tall as our last one which is great because the other one always felt a bit low to us.  It is also MUCH MUCH quieter and you can actually see steam and cooking fumes being pulled upward towards it - amazing, huh?  Yeah - I think our old one was on its way out.

The more modern look also doesn't hurt.

Here is a reminder of the old hood (and the old cream cabinets with white knobs)...

And the new...

Yes - we also relocated the wall oven and microwave.  I love the built-in look that we achieved and getting that huge microwave off our counter made a world of difference.

I'll have a kitchen reveal post for you soon...I promise.

Tuesday, February 17, 2015

Kitchen Tile Choices

Yes, things are still moving along in the kitchen.  I will have a cabinet painting post and reveal for you very soon, but for now I wanted to give you a sneak peek at the tile we have chosen for the floor and backsplash.  We ordered it a couple weeks ago and it is now sitting in our carport waiting to be installed.  

We wanted a nice medium gray tile for the floor.  Our house in Illinois had a dark gray linoleum floor and it showed lots of dirt and white dog hair.  Our house here has cream colored linoleum and it also shows every speck of dirt and dust and food crumbs.  So, we're hoping that a medium gray will be the middle ground.  (Or maybe I should just clean the floor more often.)  Here is what we decided on...


They are 18" x 24" rectangular tiles which I think will add a little something extra over the 18" x 18" square size since our kitchen is pretty calm/neutral right now.  We chose a gray grout that closely matches the tile color to keep the floor from looking too broken up and busy.

For the backsplash, we didn't hesitate in picking a glossy white subway tile.  It has been my vision from the very beginning.  


It is timeless and inexpensive.  We chose a light gray grout (same as what we chose for the floor) to draw some attention to the backsplash.  

Here is a picture to give you an idea of what everything will look like together.


We are hiring out the backsplash and floor tiling as we just don't have the time with other projects and the twins on the way.  We are still trying to nail down dates with our contractor but I'm hoping to squeeze it all in by the end of March.  Then we will just need a table and some chairs and the kitchen will pretty much be done!

Friday, November 28, 2014

Kitchen Sneak Peek

The lack of posting lately is mostly due to kitchen progress!!!  We are finishing up the cabinet painting this weekend!!!  I cannot wait to get the kitchen back together.  But, we are going to make ourselves wait patiently for at least 5 days before rehanging the doors just to make sure the paint has fully cured.  There is nothing worse than ruining your hard work with a sticking cabinet.


We decided to go with all white cabinets.  Simple, easy, and clean.


I am already so happy with how much brighter the kitchen seems.


I can't wait to get these out of the office/project room and back into the kitchen.


I hope to have the after pics for you in the next couple of weeks!  Hope everyone had an amazing Thanksgiving!

Thursday, August 21, 2014

Kitchen Plans and a New Wall Oven

I just realized that it has been a year since we've made any progress in the kitchen.  A year, people.  Time flies by and there are so many projects to tackle that the kitchen just hasn't progressed.  But that's all about to change.  We are dedicating all of our spare time during the entire month of October to the kitchen.  It's about to get real.

Remember this mood board?

Our Kitchen

I am still going for something along these lines.  And I am still having a difficult time deciding on a cabinet color.  I will say that some, if not all, of the cabinets will be white.  That is all I know for sure.  The feather imprint knob from Anthropologie (#4 above) is no longer an option for two reasons.  First, it is no longer available.  More importantly, it's too large.  Also, the amazing wood table from CB2 has been gone from their website for awhile.  Sad.  I'm trying to convince Seth that we should just build our own.  I like this one.  And I think it's a doable DIY.

What we have done in the last few months is purchase a new wall oven.


When you have a tiny space for your wall oven and can only fit a 24-incher, you have few options.  When you are on a budget but really want stainless steel to match your other appliances, you have even fewer options.  


So, needless to say, this wall oven was my first choice for our specific situation.  It is not my dream oven.  If we had an endless supply of money, I would have chosen this for our space. But saving around $800 was more important to us.  And, as I've mentioned before, we don't see this as our forever home so we are trying to make wise choices.


On to the positives.  It plays nicely with our other stainless steel appliances.  It bakes evenly!  It is slightly roomier inside (our old wall oven had thicker walls that ate into the inside square footage).  It has a working clock.  And timer.  And OVEN LIGHT!  I feel so spoiled.

Yes.  It's already dirty.

I will give you one fair warning if you're oven shopping.  This model has a fan (that I believe mostly helps it cool down, but that another reviewer mentioned helps circulate hot air for even cooking) that makes a fair amount of noise while running.  It isn't "loud" per se, but it isn't quiet. It doesn't really bother me but there are enough people who mention it in their reviews that I thought I'd disclose that info here as well.

Just squint your eyes and imagine clean, white cabinets with brushed nickel pulls, a subway tile backsplash, and a gray tiled floor.  And maybe a pop of color on our carport door.  Soon.  Very soon.

Friday, September 6, 2013

Etched Glass Soap Dispenser Fail

A few months ago, I purchased a soap and lotion set from Marshall's for the kitchen.  I had been searching for something like John and Sherry have in their kitchen (see #6).  I love how the white ceramic tray makes the set feel fancy and pulled together.

We recently used all of the soap and instead of refilling the plastic soap dispenser that came with the set, I bought a glass one from Target.


I decided that I wanted to etch the words "soap" and "lotion" onto the glass.  I was going for this look.  I purchased some Armour Etch from Hobby Lobby and rounded up the necessary supplies.


I cleaned the front of my glass soap and lotion dispensers with rubbing alcohol and let them air dry.  Then, I applied the appropriate letter stickers and placed painters tape around them to form a rectangle.  (This is the area that will actually become etched.)


Using gloves and a piece of wood (randomly found in my craft cart), I spread the etching cream over my letters.


I let it sit for a total of 5 minutes and gently stirred it around twice during that time to make sure that it was evenly applied and that there were no air bubbles.


Then, I rinsed it off and removed the tape and letters.


Ta-da!


Or.................not.  :(

I'm not quite sure of the problem.  I did a test run on an empty jar from our recycle bin and I achieved this.


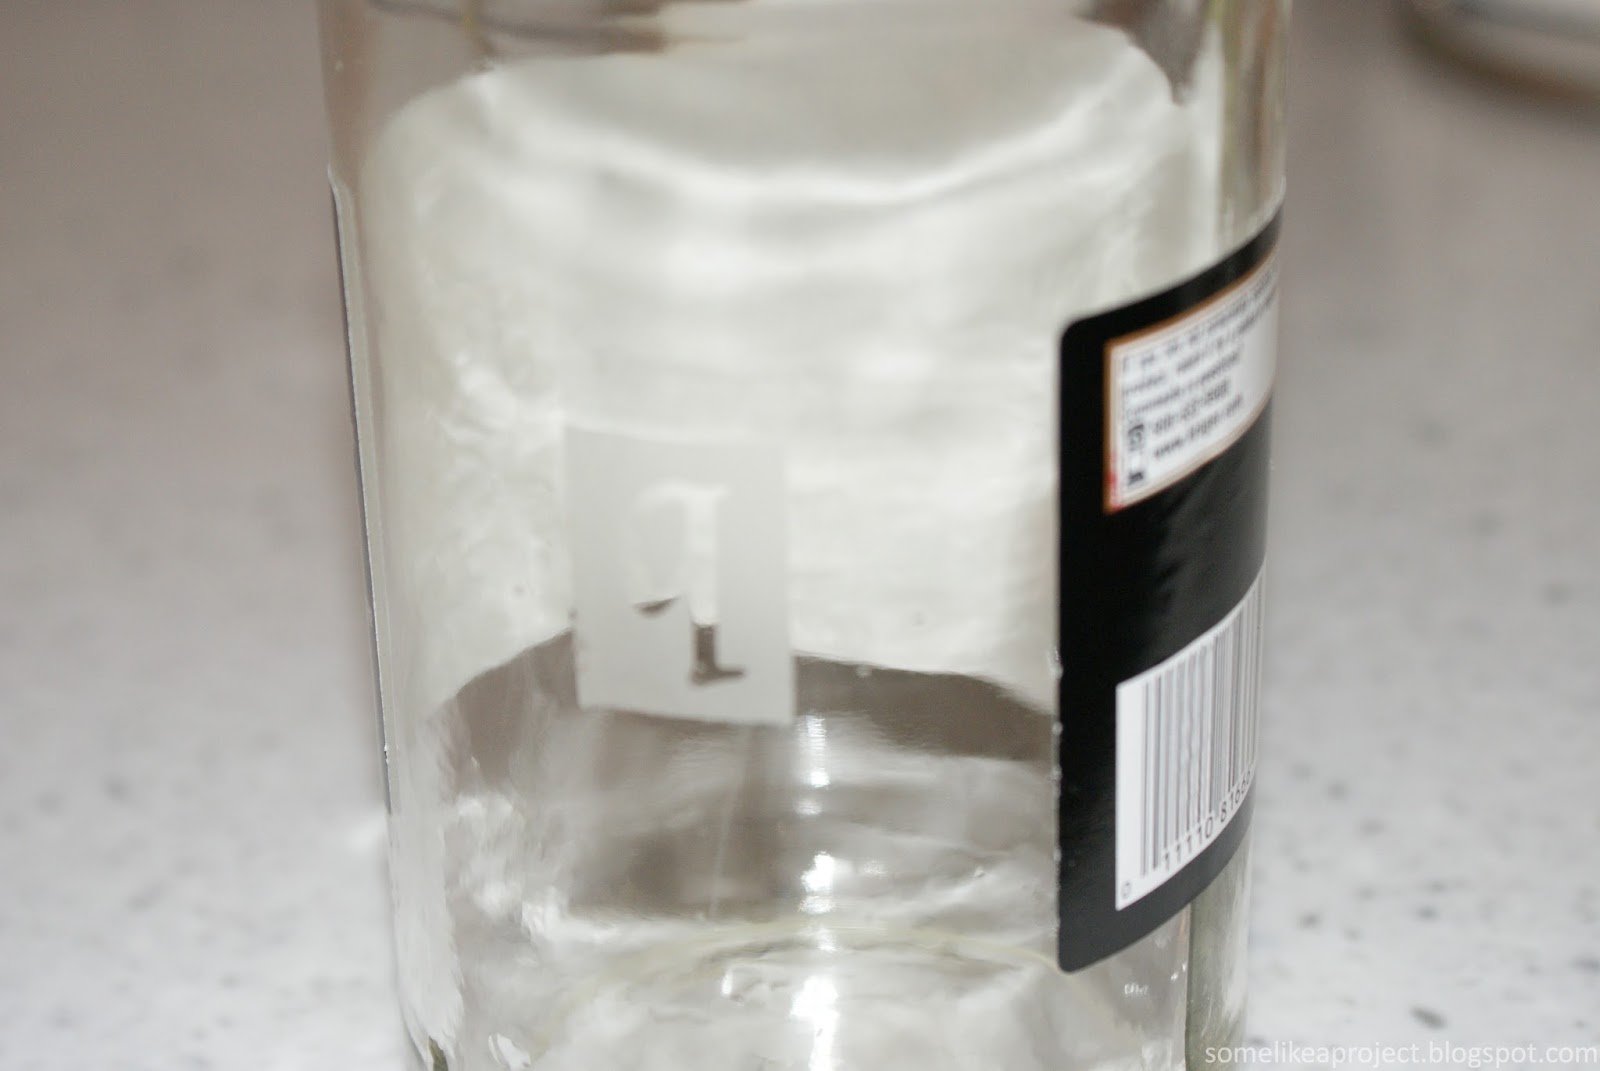
But for some reason, you cannot see the etching on the soap and lotion dispensers.  If you look very closely, you can see the "a" and the "p" on the soap dispenser.


Maybe this will help.


So...is it because the lotion is white that my etching isn't visible?  Or the fact that there is no soap behind the etching on the other dispenser?  I don't know.  Even my empty test jar looks a lot better.  Oh well.  I'm in the market for a glass olive oil dispenser and I may try my hand at etching that.  I'll let you know how it turns out.  For now, I guess we will live with plain glass dispensers.


Wednesday, July 17, 2013

New in the Kitchen: Countertop, Stovetop, Sink, and Faucet

It's high time that I posted pictures of how the kitchen is looking these days.  About two months ago, our new countertop, stovetop, sink, and faucet were installed.  I'm not sure why it took me so long to take pics for you guys and get them on the blog.  :(  Sorry.

First up - removal of our old laminate countertop.  Seth took care of this while I was at work one night. He even took pictures for me to share with you.  What a great husband.


He first removed the old stovetop.


Yes, the animals always have to be involved.  They supervise everything we do.  He then removed the old faucet and sink.


And then he proceeded to unscrew the old countertops and pull them up.


He also got rid of the laminate faux backsplash.


Then we were ready for installation of the new countertop.


It's the LG Hi-Macs solid surface countertop in Cotton Dust from Lowe's.  We caught it on sale at ~$35/square foot.  It is a very light gray with flecks of darker grays and white.


Here is the new stovetop.  She is so sleek and much easier to clean.


And here is our amazing new sink that allows us to lay cookie sheets flat to soak and keeps them mostly out of sight since it is crazy deep.


And our modern new faucet...


It's a Ruvati from Overstock.com.  It does not have a sprayer, but you can pull down the end of the faucet and turn the water up high to rinse the sink out (there is a picture on Overstock demonstrating this).  It works fine and so far I don't miss having a sprayer.

Still on the project list:
  • PAINT THE CABINETS and install new hardware
  • Purchase or make a kitchen table
  • Put up a backsplash
  • Replace the nasty laminate floor
  • Add shelves to the laundry area
  • Add shoe shelves or cubbies near the back door
  • Purchase a new vent hood
  • Add some artwork?
  • Purchase a stainless steel microwave?
  • Purchase a new wall oven (this is way down the road)

Remember this mood board?

Our Kitchen

We're getting closer to making it a reality!  There will probably be a few changes along the way (for example, CB2 no longer sells the twist bistro table pictured above), but the overall feel should be the same.  I can't wait until it all comes together.  Hope you'll stick with us to see the finished product!