Showing posts with label guest bedroom. Show all posts

Thursday, April 30, 2015

Redecorating Plans for the Guest Bedroom

The nursery is thisclose to being finished.  The main holdup is my glider.  It likely won't be delivered until the end of May (don't even get me started).  So you may not see much more of the nursery until it arrives and I can photograph the space for the reveal.

Until then, I'm shifting my focus and what little energy I have to the guest bedroom.  


It's current condition is not bad.  It's certainly functional.  I'm just ready to change it up.  I've grown tired of all the yellow.  And it's leaning a bit too country cottage-y for me.


This is where things are headed.

Guest Bedroom Redesign


[Remaining items:  The dresser is a stand in for a mid-century Bassett dresser that we have.  The sconces are from Crate and Barrel years ago.  The navy pillow is an old West Elm purchase as is the square pin tuck duvet.  The desk is a stand in for a DIY.  The wooden mirror is a stand in for one that I found on Craigslist.  The goodnight wire art is a stand in for a possible DIY.]


My goal is to create a relaxing, inviting space that is suitable for more long-term guests.  The dresser and desk will hopefully help with the latter.  I'm not 100% sure about bedding or the rug yet.  Also, I am on the fence about painting the mirror.  It depends on where I end up hanging it.  If I decide to hang it above the dresser, I feel like it would be a lot of wood in one corner of the room.  If it goes somewhere else, I'd be more inclined to leave it as is.  I don't really want to paint it.  We'll see.  

Most of the pieces we already own (including all but one piece of the artwork) so pulling this together shouldn't take too long.  I hope to have a reveal for you in the next 2-3 weeks!  

Friday, February 6, 2015

Guest Bedroom Update

I realized that I've added and changed some things in our guest bedroom over the past six months or so and have never shown you guys.  I will remedy that today.

Our guest bedroom started out like this:


Then, we painted and added some of our furniture and decor.


We obviously hadn't gotten around to replacing that hideous light fixture yet.  

Since then, we've removed the chevron rug because a certain chihuahua decided it looked like a good potty spot. (Read: chihuahuas are the arguably the most difficult breed to fully house train.)  And I've tweaked and added to the decor.


Things are looking much better these days (except for my grainy photos obviously...I really need to sign up for an online class).


Now that I've revealed the current state of the guest bedroom to the blog world, I'll also tell you that I'm about to start tweaking things again.  I don't anticipate purchasing many new items (I'm eyeing this pillow though).  I will be toning down the yellow by bringing in more white with just a few small shots of additional colors, possibly dyeing the curtains, bringing in a dresser, switching out some artwork, and who knows what else.


My mom will be "moving in" to help out with the twins for about a month after they are born (THANK YOU SO MUCH MOM!) and I just felt it was time for a refresh.  I also want to make sure that the room is more functional for a long-term guest.  As always, progress may be slow around here, but I will keep you posted.  Have a relaxing weekend!

Friday, March 15, 2013

Light Up, Light Up

Snow Patrol anyone?  I'm here to share a couple of lighting changes that have recently taken place at our house.  You may remember that we found an $8 chandelier at a local antique store and hung it in the living room.  That left the old living room chandelier homeless.  But not for long.  I knew it would look great in our guest bedroom.  First, I took her outside and gave her a coat of glossy white spray paint.  The matte just wasn't doing it for me.  And it's amazing how much of a difference it made.  Now when she is on, the light bounces off of her shiny spray painted body like a million diamonds.  Ok...that's a hyperbole, but you know what I'm sayin'.  A little gloss goes a long way.


Let me remind you what we were working with before.


Much better, I'd say.

We also purchased and installed some new outdoor sconces for our back entryway.


These babies are only $25 at Lowe's.  Not bad.  Seth is an expert at changing out lighting by now so these were up in no time.  


Much better than the rusted, ornate sconces that we inherited with the house.


Do you think these would sell at a yard sale?  Seth says no way.  I say why not try.  I'm often surprised by what people will purchase.  They still work.  And maybe someone wants that rustic "charm" at their own house.  Guess this debate will be settled when we have our yard sale.  I'm waiting for warm weather.  


Ahhh...much more our style.  I'm loving the industrial farmhouse look they convey.  Such a simple (and inexpensive) update that makes such a big impact!

Only a few more lights left to replace around here.  I'm considering this beauty for our kitchen overhead light.  We currently have this light over the eat-in area and this pendant over the sink.  What do you think?  I hope everyone has an amazing weekend!

Thursday, February 7, 2013

Recovering Accent Chairs

A few months ago, I found a couple of chairs at a local antique store that I thought would be perfect as accent chairs in our guest bedrooms.  I wanted guests to have a place to put their accouterments other than the floor or a place to sit and take their shoes off (or put them back on).  I think I paid around $30 each for them.


The chairs were in decent shape overall, but the fabric on the seats was definitely not going to work in our house.  I picked out a couple of new fabrics from Hobby Lobby and set to work.


There were just 4 screws (one in each corner) that needed to be removed to free the seat.


I saved all the nailhead trim cause I'm thrifty like that.  Who knows when I may want it to embellish another project.  A second problem that I ran into was that the wooden seat bottoms were old and warped.


Yikes!  Those were definitely going to need replacing.  Don't you love the ugly green fabric I found underneath the striped one?  It had seen better days.  Disgusting.  After removing both seats, I spent a bit of time wiping down the wooden frames with a warm water/white vinegar mixture.  If the nasty green fabric is any indication, these chairs have been used and abused, and I wanted to wipe away as much of their past lives as possible.


Here are the supplies you will need:

  • 1/2" thick piece of wood cut to fit your seat bottom
  • 1" thick high density foam (it will wear better than the cheaper low density stuff)
  • batting
  • fabric(s) of your choice
  • staple gun
  • Scotch Guard (optional)


Warning: Do not make the same mistake that I made and purchase 1/4" thick wood for the seat bottom believing that it's thick enough. Let's just say that I completely recovered one of the chairs and sat in it before realizing that it would not work.  It held my weight but I could tell it was not sturdy.  When Seth got home, I asked him to test it and there was some definite cracking when he sat down.  Whoops.

Back to the project.  Seth cut the wood for me with our circular saw.  (I can't cut straight with that thing - I think we've already discussed how it is made for righties and is impossible for my lefty self to use.  If you don't know what I'm talking about just try using it in your left hand next time.  The blade is then out of site, making it impossible to see where you are cutting.  Oh the unfairness of a lefty living in a right handed world.  Can I get some sympathy here?)  

I cut my foam approximately 1" larger than the wood all around and used spray adhesive to attach it.  I then wrapped the batting around the board and the foam, pulled it tight, and stapled it in place.


Attaching the fabric is the most important step (I realize that is probably obvious, but I thought I would remind you anyway).  If you've chosen a patterned fabric, you want to pay careful attention to the pattern placement.  There is nothing worse than finishing your seat, flipping it over to admire your work, and realizing that your pattern is completely off center or crooked  (although I sound like I speak from experience, I actually thought about it ahead of time for once, and this didn't happen to me).  After lining up my fabric, I wrapped it around the seat, pulled it tight, and began stapling.  I stapled the sides first and saved the corners for last.  I don't have a steadfast method for securing the corners.  I just kind of play with the fabric until it lays the way I want it to and then I get on that sucker with the staple gun before it moves.  


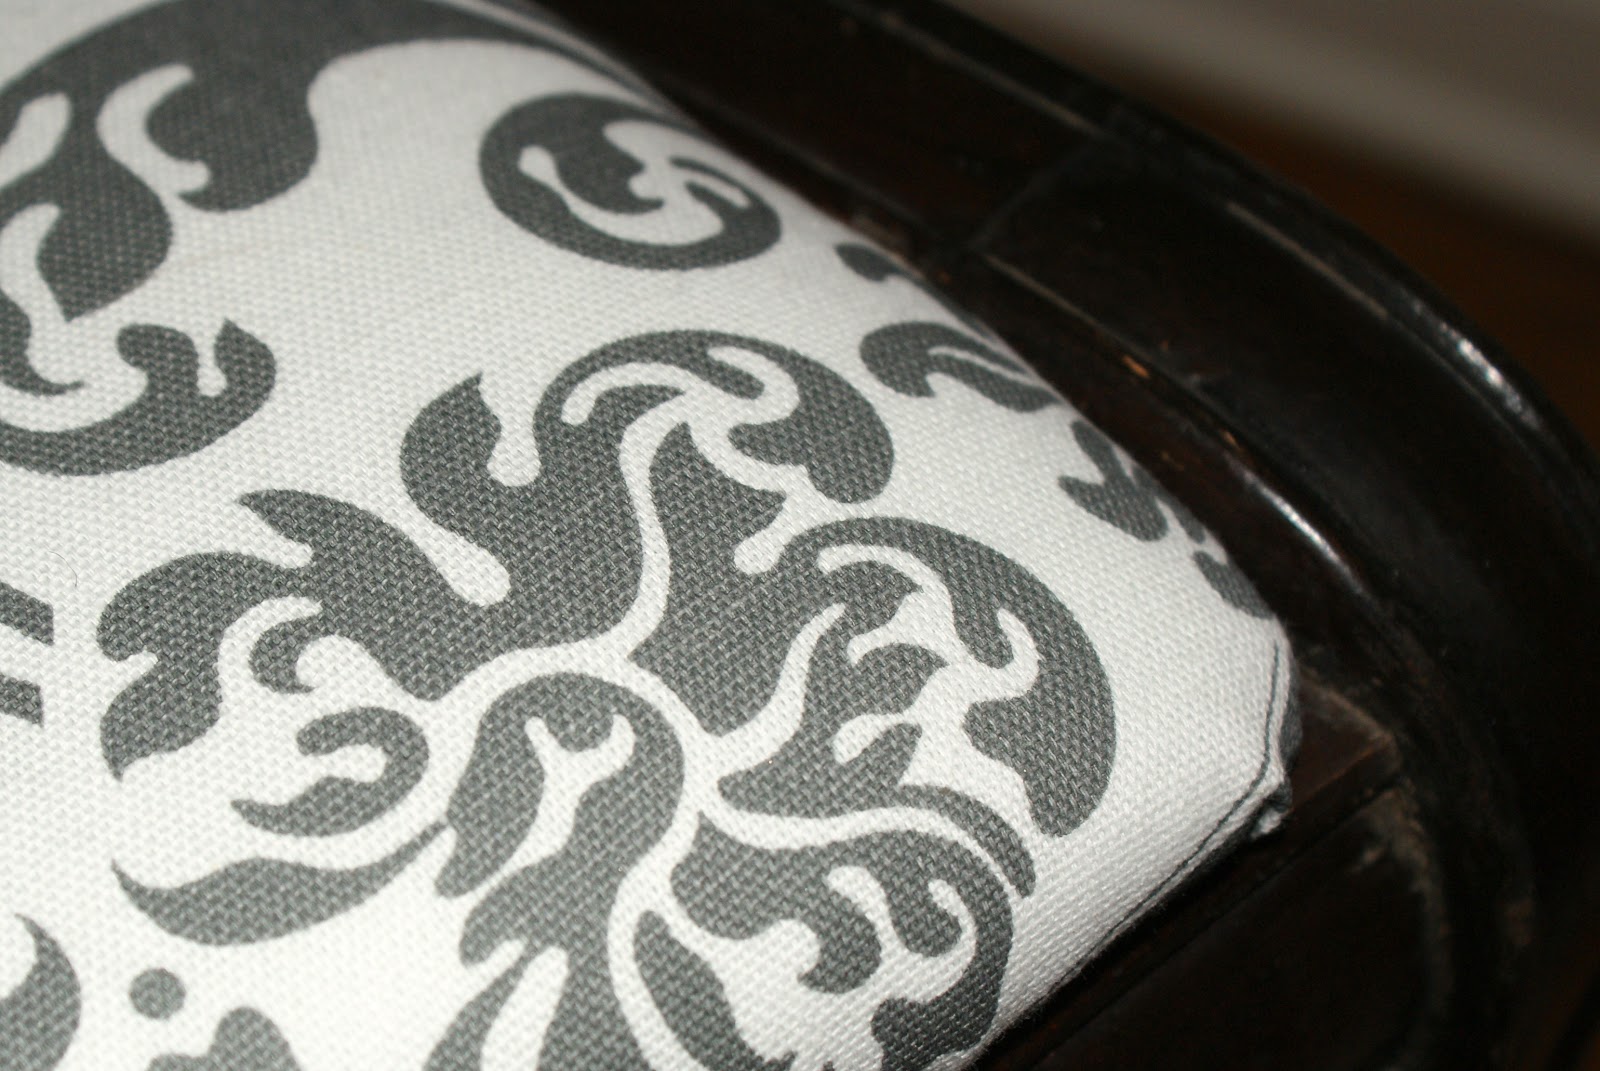
Here are the two finished products.  Note how the pattern on the gray and white chair is centered.  You can imagine how unintentional and unfinished it would look had I not taken the time to line it up.


The gray and white chair is at home in our first guest bedroom and the green chevron chair is meant for our back guest bedroom.  (We still need to paint the walls in that room - they are not going to remain tan.)


I still need to spray them with Scotch Guard (they aren't attached yet, just sitting on top of the frame for these pics) and also add accent pillows to spruce them up a little and add some needed back support (they are currently not the most comfortable).  I hope our guests use and enjoy them!

Has anyone else tackled a reupholstering project lately?  I'm sure glad I started with something easy like these chairs.  I definitely don't feel comfortable taking on an entire piece of furniture quite yet.  

Tuesday, October 23, 2012

What's New Underfoot?

I'll tell you.  Over the past few months, we have added three new rugs to our family.  I thought I'd give you a peek at these new additions.  You may remember that I already revealed our new dining room rug in this post.  Here he is in place.  Isn't he handsome? (Yes, I am aware that I randomly assign a gender to things in our home.)


Since we are leaving the leaf in our table at all times now that we have a l...o...n...g dining room (ie what was meant to be used as a formal living room), we needed a larger rug.  Our previous dining room rug was 8'x10' and just wasn't going to cut it.  I plan to purchase some nice upholstered (maybe wingback?) chairs for the head and foot of the table one day so I wanted to make sure that I found a rug that would accommodate my future plans for the space.  I'm not going to lie.  Splurging for a 9'x12' rug was painful. Large, decent quality rugs just aren't cheap.  But when West Elm had their 20% off rug sale and I used a 10% off coupon on top of that, the pain eased some.  I'm very happy with my decision.  The rug is colorful and modern.  It's also hooked wool instead of tufted making it easier to slide the chairs in and out and reducing shedding.  

We also added a new living room rug.  Our old living room rug is a 5'x8' citron-colored dhurrie (also from West Elm) that is now brightening up our home office.  I have plans for pops of color and pattern in the form of throw pillows and possibly new upholstered chairs, so I envisioned a solid colored rug.  Our first purchase was this rug from Overstock.  When it arrived, it was a bit darker than I expected.  The color and the corduroy-like ridges just screamed 70s to me.  It had to go.  Our second purchase was another Overstock find and thankfully, it is here to stay. 


I love how the rug is variegated and its color changes a bit in different light.  The rug is interesting while still reading neutral.  Seth and I purchased a new sofa three weeks ago (ahhh....and I wish it would just get here already) that will be covered in a dark gray fabric and I think it will go just splendidly with our new rug.  

Our third rug purchase (also from Overstock) was for the first guest bedroom.  As I mentioned in this post, I decided on a yellow/white/gray color scheme for this room.  So when I saw this rug, I was hooked (pun intended).  


As you can see, the rug is gray and ivory.  It's difficult, dare I say impossible?, to find a rug with true white in it.  It is bothering me a little how white the bookcase and duvet appear when compared to the rug, but I'll get over it.   I think once the room is finished, it will all come together okay.  

Now, the only other spots that need rugs are the entryway (I'm thinking an indoor/outdoor rug like this one for durability) and our back guest bedroom.  Whew.  I guess when you have a house with hardwood and tile throughout you are forced to invest in a lot of area rugs.  

Thursday, August 30, 2012

Choosing Paint Colors part II

And the painting continues.  Will it ever end?  Trying to look on the bright side, I just calculated the number of calories that I'm burning at everydayhealth.com.  If I paint for three hours (which is about how long it takes me to do two coats in a medium sized room by myself) I am burning around 725 calories.  Not too bad I guess.  Maybe I can have another one of those Knock You Naked Brownies I made from Pinterest tonight after all.

We have managed to nail down three more colors and get some paint up on the walls in the hallway, the first guest bedroom, and our office.  The hallway and first guest bedroom were probably the easiest paint color decisions yet.  We liked the look of our light gray hallway in our last home because it brightened up the entryway and was a nice neutral backdrop that allowed us to incorporate colors from other rooms with art and accessories.  I think it's nice when your entryway kind of ties the whole home together (at least the main living areas).  


So, we were deciding between Valspar's lunar eclipse (1) and Valspar's polar star (2).  

1

2

They look pretty similar but the lunar eclipse is slightly more brown so we settled on the polar star (4005-1A).  While I was visiting my parents and attending a bridal shower for my brother's fiancĂ© (yay!!!) this past weekend, Seth primed and painted the entire hallway.  What a great husband!  The color is pretty much what we expected but I think the cream molding with its yellow undertones is throwing the whole thing off.  Ahhhh...the molding.  The entire house is full of this yellowy cream molding color.  What ever happened to a nice, crisp, refreshing, modern white???  It's on the to do list.  We may end up hiring that awful job out.  Any takers?  :)

Here is the hallway after Seth's hard work.


You may remember that I nailed down the color scheme for our first guest bedroom when I scored an amazing deal on some nightstands here.  With the master bedroom and hallway colors chosen, I focused on a goal of mine for our new place - reducing the total number of paint colors in the house.  In our first house, we had seven different colors in basically nine rooms (four of those were shades of blue).  I never thought it looked bad, but I definitely wanted to make our color palette for the second house a bit more cohesive to allow for better flow from room to room.  I have to keep reminding myself that I can always use accessories to add different accent colors in each room to prevent them from all looking the same.  One thing I wanted to do was choose paint colors from the same paint card, just in different shades, in order to provide continuity while avoiding a boring, monochromatic palette.  So with this goal in mind, and the fact that we decided on gray walls in the first guest bedroom to complement our yellow nightstands, we just moved one shade darker on the polar star paint card and found our guest bedroom color: Valspar's gravity (4005-1B).


I tackled that project yesterday (my parents are coming for Labor Day weekend and I wanted it painted and mostly put together for their visit).  So 725 calories later, here she is.  It's reading a bit blue in the picture, but in person it's definitely more gray.


The other room that we've painted is the office (the former dining room).  The color we settled on is Benjamin Moore's Sesame 381 (color matched to Valspar paint).  


It actually turned out a bit lighter and more yellow-looking than I had hoped but it should still work.  I blame the dark green color that we painted over (although we did have the paint and primer in one).  Amos even got in on the action.  


Here is the color on the wall (next to a section of trim that we slapped a bit of white paint on just to get the effect).  


Ahhhh...the green on yellow-green combo.  Lovely.  Has anyone decided to donate their time and help paint our trim yet?  

We choose this color for the following reasons:
  • we liked it
  • it goes nicely with blues and grays (our other main wall colors in the house)
  • it works well with our current furniture for the room (white and dark brown)
  • it complements the rug we have chosen for the office (it was our living room rug in our last house - more on that in another post)
I love how bright and fun it is.  It is amazing how much larger the space feels now.  We are also considering it for the living room, but haven't decided yet.  In the meantime, I'm wondering if you can get carpel tunnel from excessive paint rolling?  (Or maybe it's the blogging.)