Showing posts with label winter wreath. Show all posts

Tuesday, January 14, 2014

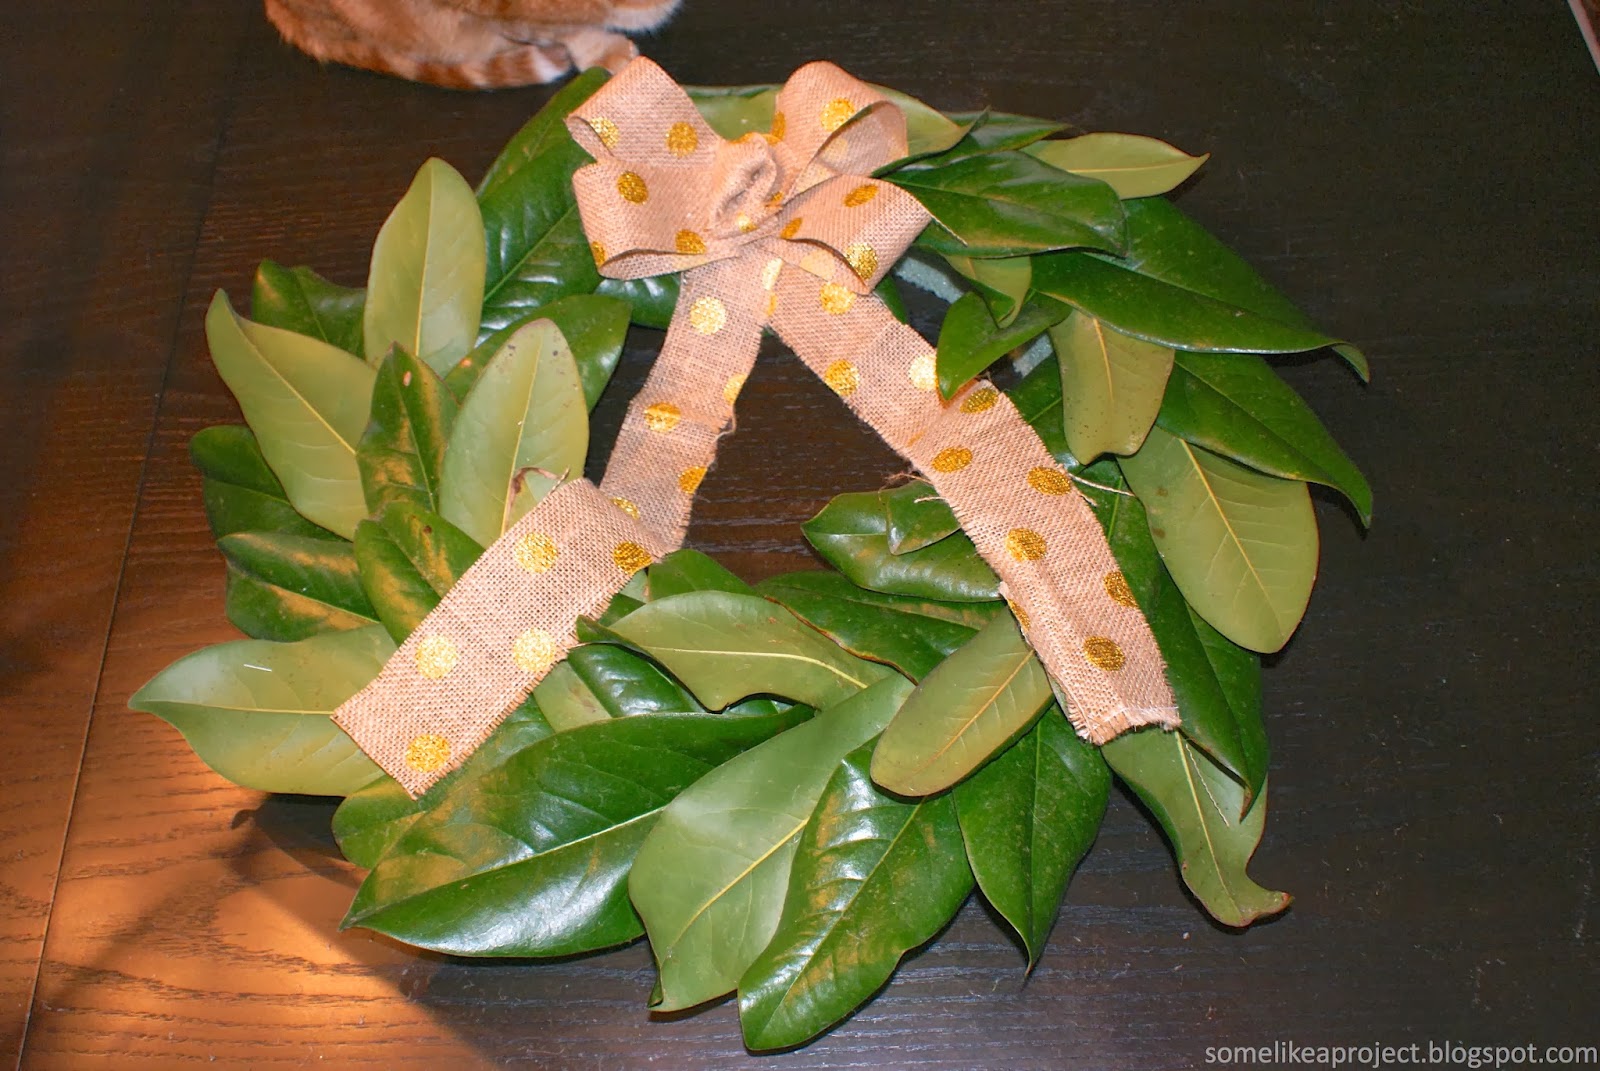
Simple Winter Magnolia Wreath

After taking down our Christmas decorations, I realized that I probably needed a new wreath to get us from post-Christmas Winter to Spring.  My ornament wreath was a little too specific to Christmas.


I didn't want to spend a lot of time or money making another wreath and so I turned to my own backyard.


According to Pinterest, a lot of people associate magnolias with Fall and even Christmas.  I notice their beauty more during this time of year - when everything else is brown and dead, the holidays are over, and the hustle and bustle has died down.  They are still green.  Still going.  Giving me hope for the coming of Spring (and after that arctic blast last week, I could use some hope for Spring).


I did have to purchase a wreath form from Hobby Lobby (but thanks to a 40% off coupon it wasn't very pricey). You will also need a lot of magnolia leaves (I think I used around 45-50), your hot glue gun, and ribbon of your choice.  


I just simply started gluing my leaves on, flipping some over so that the lighter green back was showing for a bit of variation.


I added my ribbon with more hot glue at the end and that was that.  Super quick and simple.


Things are coming along in the guest bathroom…slowly but surely.  I did have a mirror arrive yesterday with many cracks from shipping so things are not going super smoothly.  Oh, well.  We'll get there eventually.  I should have an update for you soon.  

Monday, December 9, 2013

Winter Wood Slice Wreath

As I revealed in this post, I decided to tackle a wood slice wreath for our back door this season.  After an unexpected complication, here is the final product.


I pretty much followed this tutorial.  Our local craft stores did not carry wooden wreath forms so Seth made one for me.  


And that's how you get things done without a jigsaw.  Seth also used our miter saw to slice up a log into 1/4" pieces.  

TIP:  Learn from my mistake - let your wood slices fully dry out before assembling your wreath.  (See below for the scoop on what happens if you don't.)


Since the back of the wreath was going to be visible from inside our kitchen, I decided to cover our less than perfect wreath form.  I used spray adhesive and some felt-like material that I had laying around.


I tied on a piece of white muslin so that I could loop ribbon through it for hanging the wreath later on.  This way, I can change it up in the future.


I then used my hot glue gun to attach my wood slices in two overlapping layers.  


I then used ribbon and sprigs of faux greenery for my base layer.


I added a pinecone pick, a few ornaments, and a pick with white and gold decorative balls that I found at Lowe's.


I tied on a piece of gold ribbon for hanging and voila.


And here are some detail shots for you… (notice my reflection in the ornaments?)


As for the complication…after a couple of days the wood slices began to fully dry out.  As they dried out, they started to curve and a few popped off the wreath.


I found some small pieces of wood in my craft cart to fill the gaps and was able to reattach the curved pieces.


When you look at the wreath from the front, it's not as noticeable how angled that one wood slice piece is.  

I also took a few pics of her on the front door for fun.


The wood slices are just so organic and beautiful.  I love decorating with natural (and free!) materials.  

Is anyone else getting crafty with their Christmas decor?  I've fallen a bit behind but I'm hoping to finish our tree and front porch by the end of the week.  I can't believe Christmas is only a little over 2 weeks away!