The chairs were in decent shape overall, but the fabric on the seats was definitely not going to work in our house. I picked out a couple of new fabrics from Hobby Lobby and set to work.
There were just 4 screws (one in each corner) that needed to be removed to free the seat.
I saved all the nailhead trim cause I'm thrifty like that. Who knows when I may want it to embellish another project. A second problem that I ran into was that the wooden seat bottoms were old and warped.
Here are the supplies you will need:
- 1/2" thick piece of wood cut to fit your seat bottom
- 1" thick high density foam (it will wear better than the cheaper low density stuff)
- batting
- fabric(s) of your choice
- staple gun
- Scotch Guard (optional)
Warning: Do not make the same mistake that I made and purchase 1/4" thick wood for the seat bottom believing that it's thick enough. Let's just say that I completely recovered one of the chairs and sat in it before realizing that it would not work. It held my weight but I could tell it was not sturdy. When Seth got home, I asked him to test it and there was some definite cracking when he sat down. Whoops.
Back to the project. Seth cut the wood for me with our circular saw. (I can't cut straight with that thing - I think we've already discussed how it is made for righties and is impossible for my lefty self to use. If you don't know what I'm talking about just try using it in your left hand next time. The blade is then out of site, making it impossible to see where you are cutting. Oh the unfairness of a lefty living in a right handed world. Can I get some sympathy here?)
I cut my foam approximately 1" larger than the wood all around and used spray adhesive to attach it. I then wrapped the batting around the board and the foam, pulled it tight, and stapled it in place.
Attaching the fabric is the most important step (I realize that is probably obvious, but I thought I would remind you anyway). If you've chosen a patterned fabric, you want to pay careful attention to the pattern placement. There is nothing worse than finishing your seat, flipping it over to admire your work, and realizing that your pattern is completely off center or crooked (although I sound like I speak from experience, I actually thought about it ahead of time for once, and this didn't happen to me). After lining up my fabric, I wrapped it around the seat, pulled it tight, and began stapling. I stapled the sides first and saved the corners for last. I don't have a steadfast method for securing the corners. I just kind of play with the fabric until it lays the way I want it to and then I get on that sucker with the staple gun before it moves.
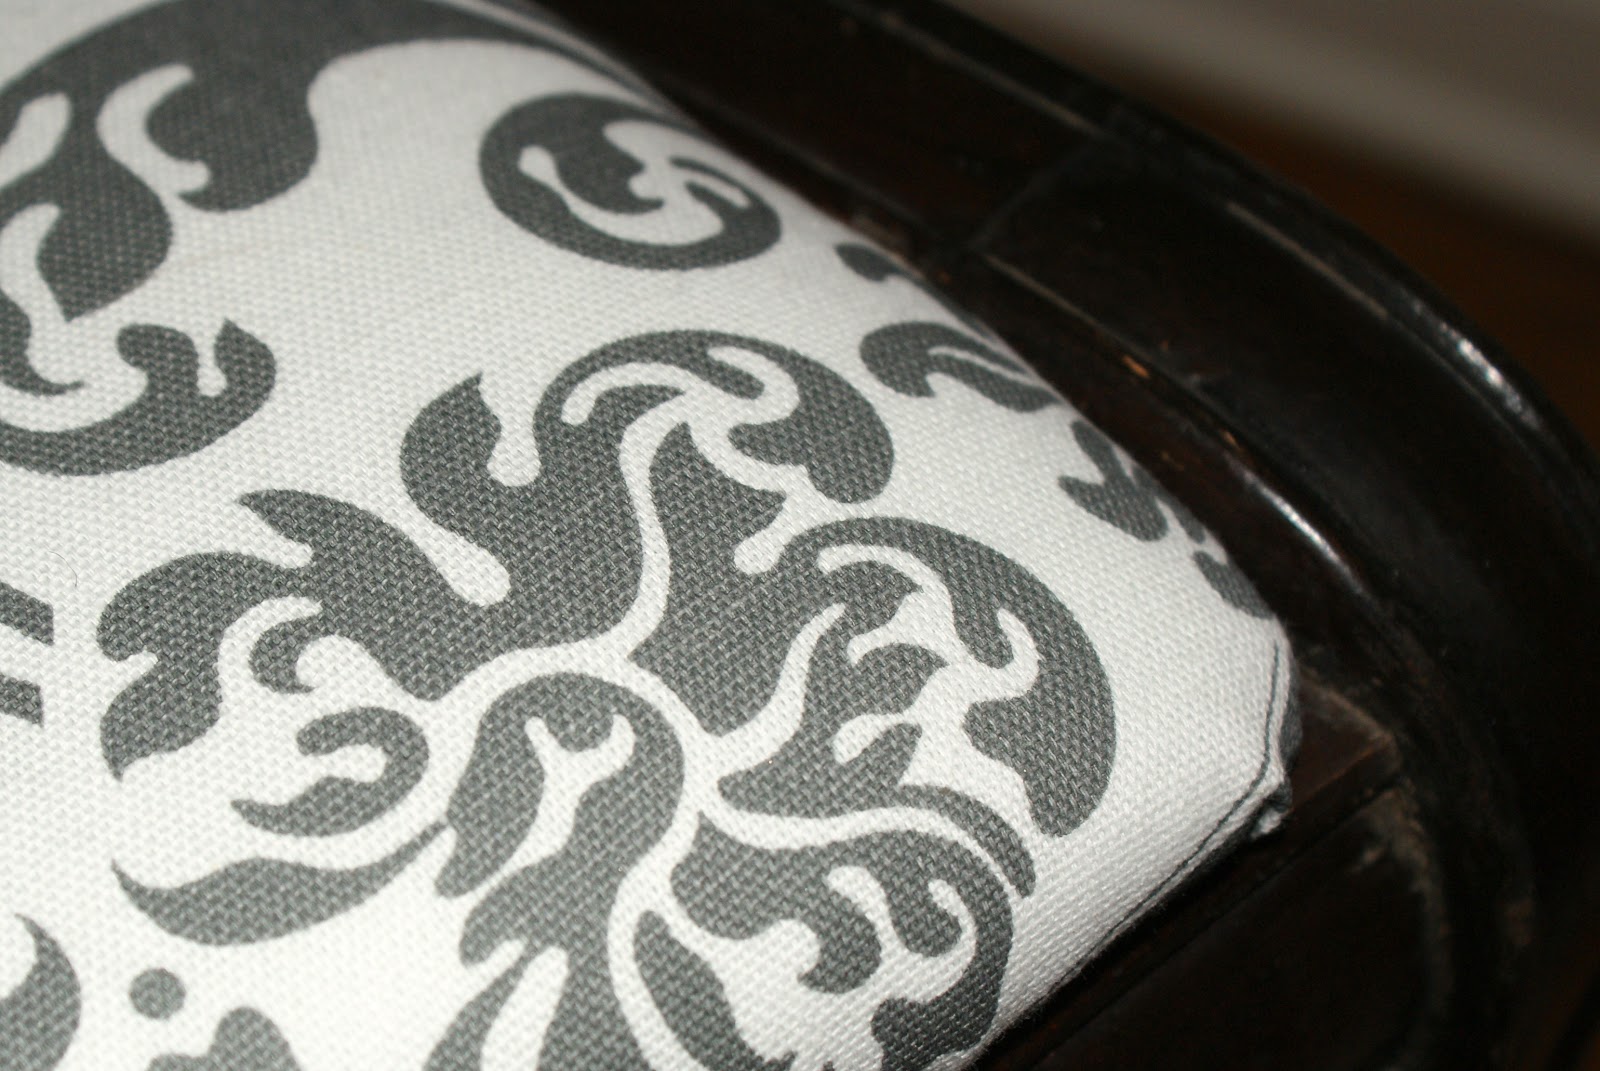
Here are the two finished products. Note how the pattern on the gray and white chair is centered. You can imagine how unintentional and unfinished it would look had I not taken the time to line it up.
The gray and white chair is at home in our first guest bedroom and the green chevron chair is meant for our back guest bedroom. (We still need to paint the walls in that room - they are not going to remain tan.)
I still need to spray them with Scotch Guard (they aren't attached yet, just sitting on top of the frame for these pics) and also add accent pillows to spruce them up a little and add some needed back support (they are currently not the most comfortable). I hope our guests use and enjoy them!
Has anyone else tackled a reupholstering project lately? I'm sure glad I started with something easy like these chairs. I definitely don't feel comfortable taking on an entire piece of furniture quite yet.


No comments:
Post a Comment
Thoughts, ideas, suggestions...