Wednesday, July 31, 2013

New Living Room Pillows


As I revealed in my last post, we have some new living room pillows.


I thought I was in love with our colorful, scalloped pillow, but it turns out I got tired of it.  


Choosing new pillows for our living room was a chore.  I spent hours and hours searching Etsy until I found exactly what I wanted.  I narrowed it down to two "pillow schemes".  And then I spent weeks trying to decide between them.  I may have a slightly analytical, type A personality.  :)

Living Room Pillow Scheme A
1 // 2 // 3 // 4 // 5

*Note: Pillow #3 is no longer available.  Pillow #5 I actually purchased as a custom listing from California Livin Home (it was less expensive than the one from SparkModern).

Living Room Pillow Scheme B
1 // 2 // 3 // 4 // 5

I ultimately decided to go with the first pillow scheme.  Although I was really drawn to the Hot House floral fabric on pillow #4 in the second scheme, I was too scared to commit to it.  I was concerned about adding an Asian influenced fabric (since NOTHING else in our house is remotely Asian inspired) and I was also concerned that I wouldn't like it in 6 months.  For my style, the chevron ikat pillow was definitely the safer bet.


I'm super happy with my decision.  The pillow scheme seems more cohesive and refined now. And I am in love with the texture of the blue and ivory pillow.

Does anyone else out there agonize over design decisions for weeks before committing?  Or do you just know it when you see it?  I'm almost always an agonizer which is probably not terribly healthy.  

Friday, July 26, 2013

Expanding our Console Table

It all started with this ah-may-zing console table from CB2.  I highly, highly recommend it (although it now has a different name and a higher price - boo).

It was perfect for the entryway in our previous house.

You may recall that we played with the living room layout for months before finally settling on our current set up.  And that current set up includes pulling the sofa away from the wall to make the seating area more cozy.  Ergo, we needed a console table behind it.  I was envisioning something like this or this.

The problem with our beloved CB2 console was that it was too short.  The sofa is 84" long and the console is only 56" long.  (If I was a good blogger I would have taken a picture for you, but you'll get the idea later.)  For awhile, I thought we were going to have to find another spot for the console table, store it somewhere, or sell it.  But, we really didn't have another spot for it or a good place to store it.  And as I have already professed my undying love for it, you can imagine that selling it was really not settling well with me.  So I came up with a solution.  Why not use the existing table as the base and just add a top to extend it the full length of the sofa?


So that is what I did.

You may have noticed in the photo above that we have some new artwork and new pillows.  More on those in another post.  Back to the console table for now.  I put it together for around $40 (some of the supplies I had on hand and some I had to purchase).  It's the second piece of "furniture" that I've built and it turned out quite a bit better than the first.  (The first was our plant stand and at that point in time we did not have a miter saw or as much DIY know-how.)  

For the top of the console top (confusing yet?), I cut two 1x6 boards to the length of the sofa.  Then I secured square dowel pieces with wood glue and screws so that they held the two boards together and formed the inset area where the current console would fit.


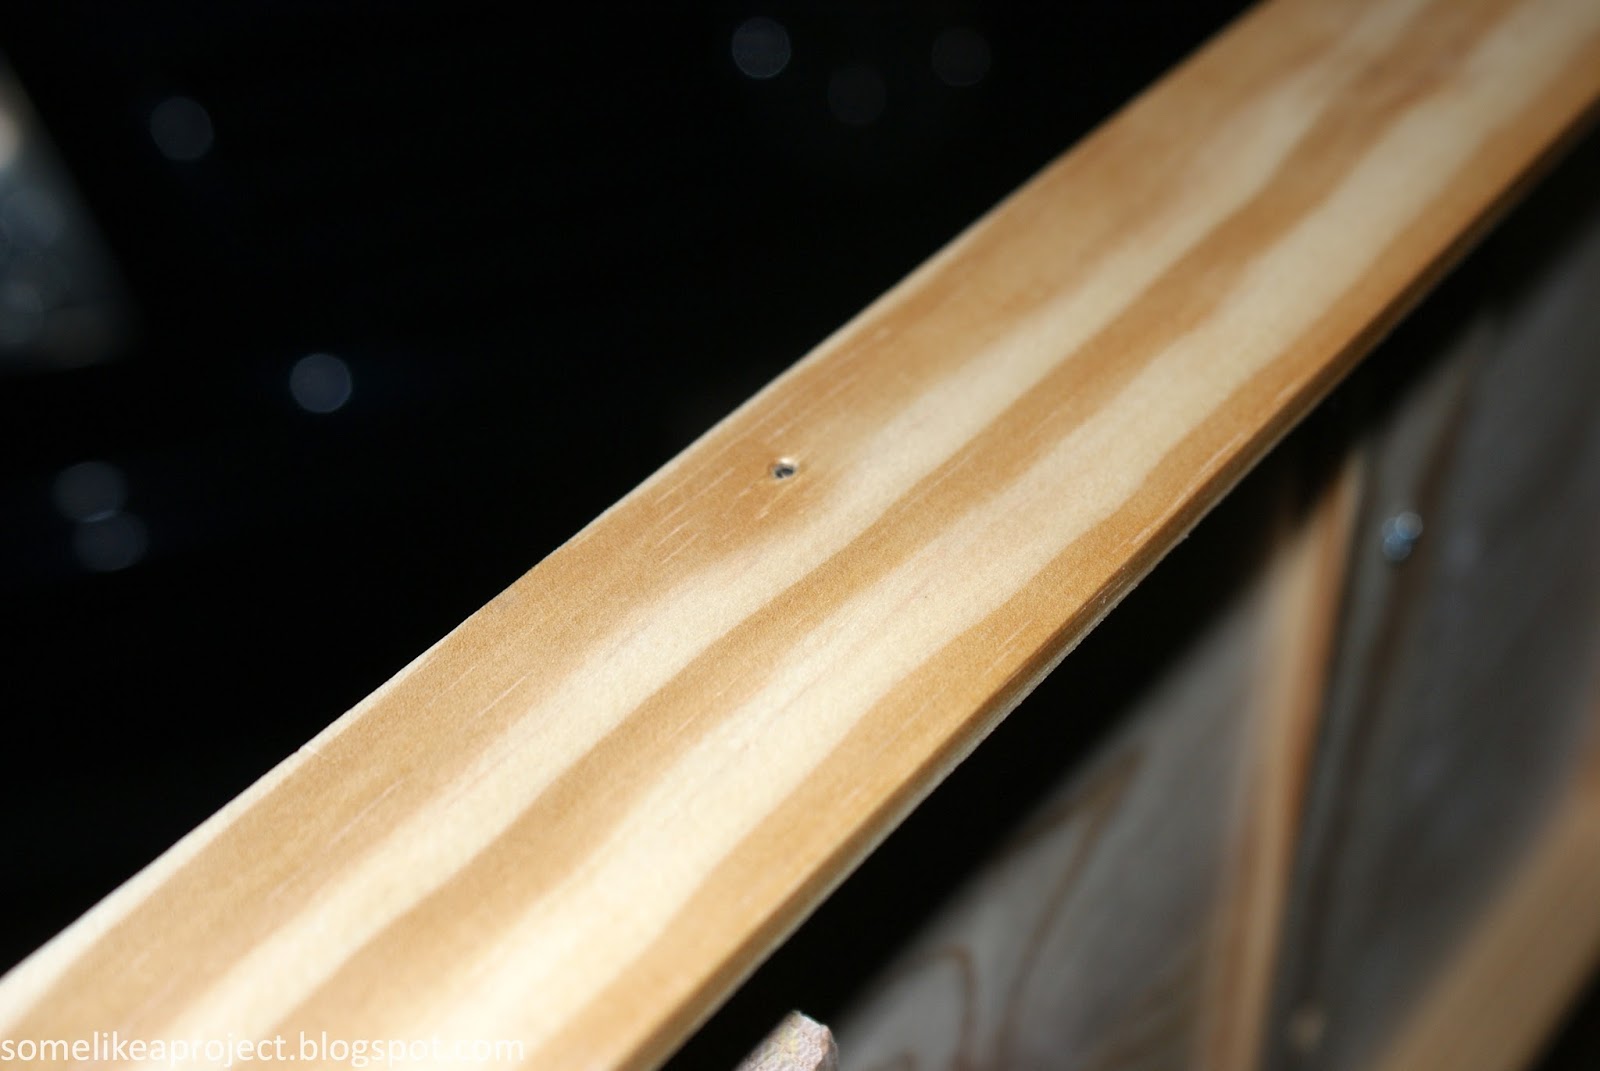
I originally intended to stop here and stain it.  However, I quickly realized that adding some trim would dramatically improve things. So I picked up a few pieces of pine lattice, attached them with wood glue and finishing nails, punched the nails in, filled with wood filler, sanded, and voila.


Much better, right?  On to staining.


Two coats of dark walnut stain followed by two coats of polyurethane followed by me insisting that we not move it or touch it or look at it wrong for 3-5 days.  I was just playing it safe, guys.

Then it was time to move her inside and style her up.


I'm very pleased with how it turned out.  The cats are happy that I left the sides open.  They like the fact that they can still hide behind the sofa and they enjoy having their own personal "tunnel".  We won't discuss the hairballs that build up back there.


What do you think?  Although it doesn't exactly appear as if it was manufactured as a single piece of furniture, it doesn't look as awkward as I had anticipated.  I'm happy any day with a project that allows us to inexpensively tweak an existing piece of furniture to make it work again.

Tuesday, July 23, 2013

Cord Organization

My desk has had a mess of cords underneath it for almost a year now.


I have finally done something about it.  I'm not sure why this simple project took me so long.  There are many options out there for cord/cable management, but I knew that I wanted more than just organization with ties and cable spools.  I wanted concealment.  I was envisioning something like this cable management box from Ikea or this one from Poppin.  I was about to order the one from Ikea (and save a little moo-lah), but the hubby said he liked the look of the one from Poppin better.  So, Poppin it was.


It's simple to use.  Just pop off the top, set your surge protector inside, and guide the cords out the openings on either side.


Not perfect, but much better.  The large white extension cord can't go yet because we don't have an outlet on the wall behind our desks.  Maybe one day we'll pay an electrician to install one, but it will take longer (i.e. cost more) since it's an exterior wall.  :(


How about that before and after?  I love it when simple projects make me smile.

Have you guys tackled any quick, easy projects at home recently?

Wednesday, July 17, 2013

New in the Kitchen: Countertop, Stovetop, Sink, and Faucet

It's high time that I posted pictures of how the kitchen is looking these days.  About two months ago, our new countertop, stovetop, sink, and faucet were installed.  I'm not sure why it took me so long to take pics for you guys and get them on the blog.  :(  Sorry.

First up - removal of our old laminate countertop.  Seth took care of this while I was at work one night. He even took pictures for me to share with you.  What a great husband.


He first removed the old stovetop.


Yes, the animals always have to be involved.  They supervise everything we do.  He then removed the old faucet and sink.


And then he proceeded to unscrew the old countertops and pull them up.


He also got rid of the laminate faux backsplash.


Then we were ready for installation of the new countertop.


It's the LG Hi-Macs solid surface countertop in Cotton Dust from Lowe's.  We caught it on sale at ~$35/square foot.  It is a very light gray with flecks of darker grays and white.


Here is the new stovetop.  She is so sleek and much easier to clean.


And here is our amazing new sink that allows us to lay cookie sheets flat to soak and keeps them mostly out of sight since it is crazy deep.


And our modern new faucet...


It's a Ruvati from Overstock.com.  It does not have a sprayer, but you can pull down the end of the faucet and turn the water up high to rinse the sink out (there is a picture on Overstock demonstrating this).  It works fine and so far I don't miss having a sprayer.

Still on the project list:
  • PAINT THE CABINETS and install new hardware
  • Purchase or make a kitchen table
  • Put up a backsplash
  • Replace the nasty laminate floor
  • Add shelves to the laundry area
  • Add shoe shelves or cubbies near the back door
  • Purchase a new vent hood
  • Add some artwork?
  • Purchase a stainless steel microwave?
  • Purchase a new wall oven (this is way down the road)

Remember this mood board?

Our Kitchen

We're getting closer to making it a reality!  There will probably be a few changes along the way (for example, CB2 no longer sells the twist bistro table pictured above), but the overall feel should be the same.  I can't wait until it all comes together.  Hope you'll stick with us to see the finished product!

Monday, July 15, 2013

A New Look and Watermarking Photos

The new blog look started with my desire to change the blog title font to something a bit more mature-looking.  Somehow, that small task snowballed into a blog makeover.  I hope you guys enjoy the new look!  Who knows when I might tweak it again.

So...although I have not yet seen any of my blog photos floating around on Pinterest, I have decided to start watermarking them. Watermarking is a nice way to easily identify the original source of a photo.  This brings a bit of added security against people stealing photos and claiming them as their own, and is especially helpful if the link to a photo on Pinterest is incorrect or broken.  Here are a couple examples of what my blog photos will look like from now on.


I tried to keep the watermark simple and slightly transparent so it won't be too distracting.  I downloaded the PhotoBulk Watermark App and so far I am loving it.  It's simple to use and you can watermark your photos in bulk.  If I had to watermark them all individually I might not be doing it.  

We have actually been tackling a number of projects lately and I promise to get some posts up soon.  You can also look forward to pictures of our new kitchen counters, sink, stovetop, and faucet.  Yay!  Hope everyone has a great week!