Monday, October 28, 2013

Antiqued Mirror DIY

Today I'll let you know how I made the antiqued mirror for over our fireplace.  (Bear with me on the photos.  I shot some in manual mode for the first time ever.)


I've been eyeing antiqued mirrors for awhile now (1, 2, 3, 4).  I love the warm, vintage feel they bring to a room. After Jenny Komenda posted her chemical-free tutorial here, I knew I had to try it.


Supplies:
  • Glass
  • Black spray paint
  • Krylon Looking Glass spray paint
  • 1:1 mixture of vinegar and water in a spray bottle
  • Paper towels


After deciding that I wanted my mirror to be 22"x28", I went to Lowe's and had my glass pieces cut.  After practicing my technique on some scrap pieces of glass, I got to work.  

Step 1:  Clean your glass pieces.  (I failed to do this thoroughly enough.  I got lazy.  And if you're up close examining the final product, you can tell.)

Step 2:  Lightly mist your glass pieces with your vinegar and water mixture.  The vinegar and water will prevent the Looking Glass spray paint from touching your glass and create the antiqued effect.  I tried to concentrate on the outer edges of my glass pieces and sprayed less in the middle for a worn-around-the-edges look.

Step 3:  Spray your glass with the Krylon Looking Glass spray paint.  Allow the spray paint and water and vinegar mixture to sit for maybe 15 seconds and then gently use a paper towel to blot up the vinegar and water.  Jenny's tutorial says 'wipe', but this didn't work for me.  I found that the print on my paper towel transferred to the wet spray paint a bit and left indentions.  I think if I do this again, I'll use an old t-shirt or something with less texture.


Step 4:  Repeat steps 2 and 3 until you're satisfied with your antiquing.

Step 5:  Spray over the entire piece of glass with your black spray paint.

(The pieces on the left have been sprayed black.) 


Step 6:  You're done.  Flip it over and admire your work!

I then used liquid nails to adhere my mirror pieces to a 1/4" thick piece of plywood.


My plan was to pop this baby into a 22"x28" open frame that I already had on hand.  Did that idea work out?  Of course not.  The mirror pieces were slightly imprecise and it did not fit.  

Onto plan B.  Make a frame.  I picked up some fancy moulding at Lowe's.  


One would think having a miter saw would help immensely with this endeavor.  


And it did, but it was still an absolute pain to line everything up.


We did the best we could and used our liquid nails to adhere the moulding directly onto the mirror.  


And then the liquid nails started oozing out.  We almost gave up.  But we forged ahead and piled on some books to hold the frame onto the mirror overnight.


The next morning, I used a paint scraper to remove as much of the liquid nails that had oozed out as possible.


Then I used some black acrylic paint and a tiny paintbrush to paint the visible liquid nails.


When the paint dried, I scraped the excess off the mirror.

The corners of the frame aren't perfect but they're good enough for me.  I had reached my limit on this project.


Again, sorry for the subpar photos.  I'm really trying to work on that.


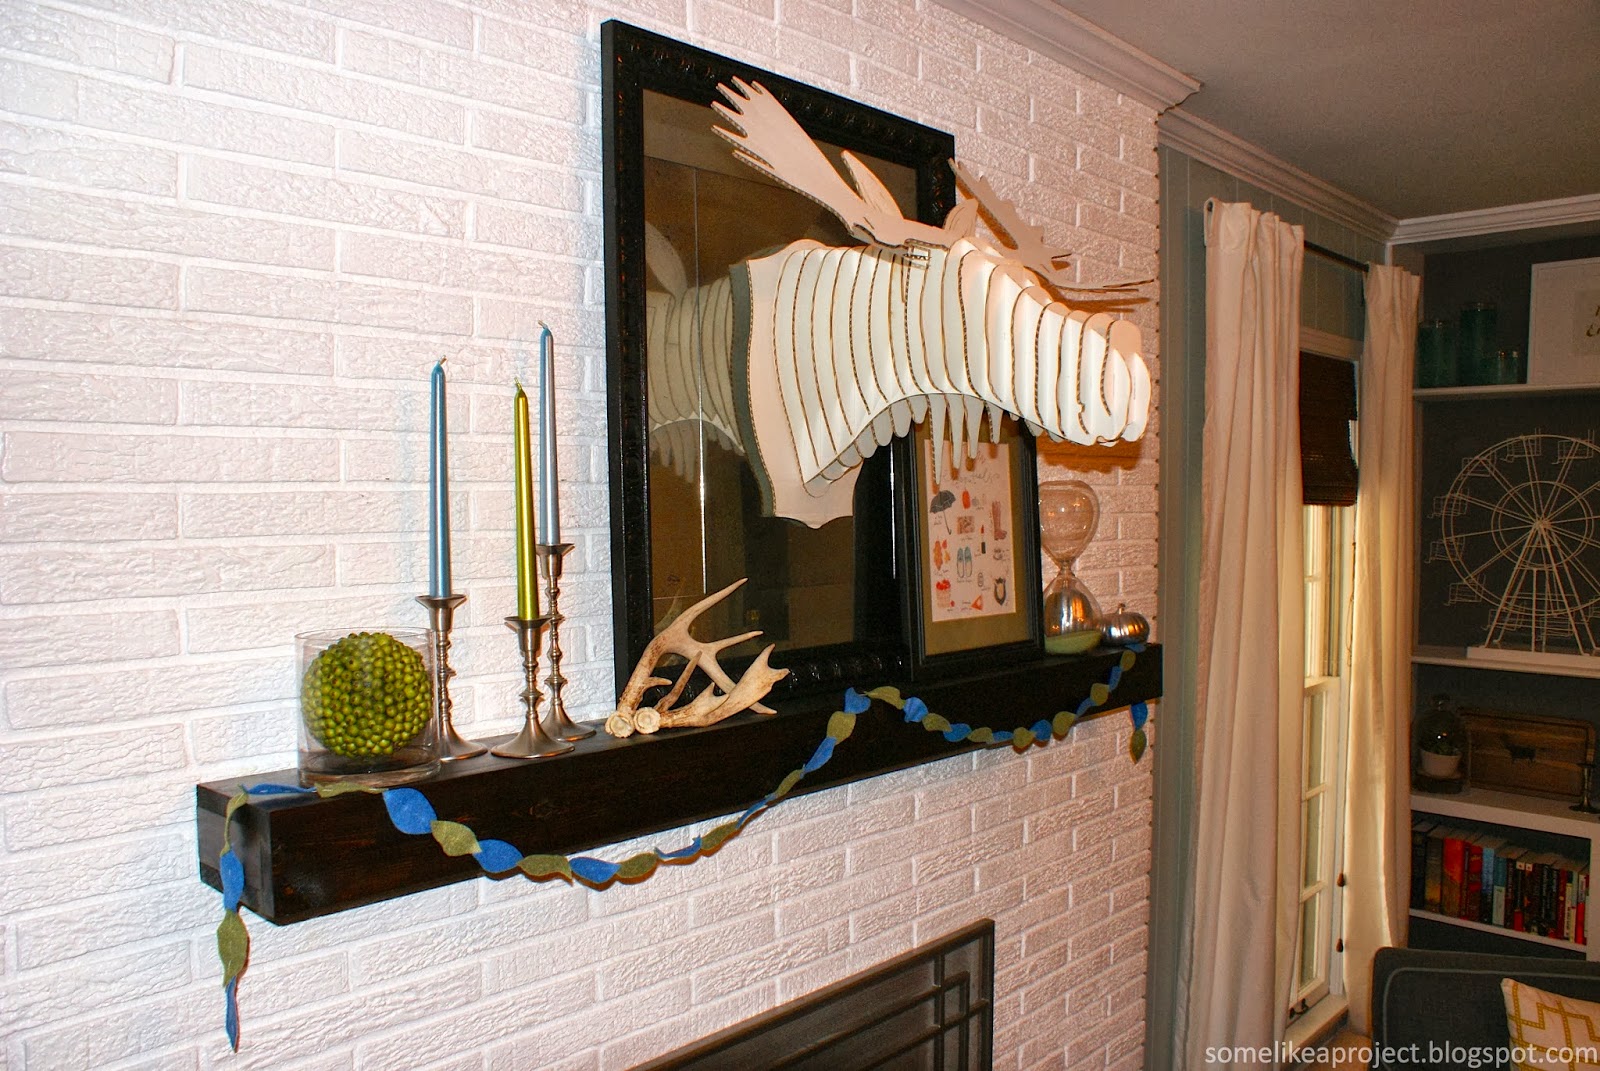
And yes, I changed up the mantel.  The moose now has a new home.  I'll update you soon.

Wednesday, October 23, 2013

Fall Front Porch with Pumpkin House Number Topiary

With the addition of some mums and pumpkins, our porch is now Fall ready (I'm a bit behind this year).


I grabbed a couple of blue pots from Wal-Mart and filled them (and some others I had on hand) with mums and our coleus that is still going strong from Spring.


Mostly green and white pumpkins add to the Fall ambiance.


Inspired by Heather over at At The Picket Fence, I made a pumpkin house number topiary.


I made mine a bit differently though.

First, I used some of our plastic recycling to fill space in the bottom of the pot.  (Note: I also did this with the other pots as well.  It cuts down on the amount of dirt that you need and the pot ends up much lighter and easier to transport.  I only do this with temporary potted arrangements.)


I wedged two pieces of scrap wood down into the pot to support the pumpkins and poured in some dirt to disguise the plastic.  


I balanced the pumpkins on top of one another and added leftover landscape gravel around the base.  After spray painting our old house numbers glossy black, I hung them on the front of the pumpkins using twine.


Yay for a successful project!

I also added a little bit of Fall around the mailbox.


Maybe next year, I'll be more on top of things.

Monday, October 21, 2013

Simple, Nature-Inspired Fall Mantel

I promised you a post about our Fall mantel and then I dragged my feet.  It's because I was tweaking it. I'm still not sure I absolutely love it, but I'm tired of editing and rearranging it.  So I'm calling it done.


As with the wreath for the front door, I decided on a mostly green and blue color scheme. 


I started with my DIY antiqued mirror (I'll post a tutorial soon) and I just couldn't resist mounting Fred the moose onto it.  (I may take him down later and mount him above the television - not sure yet.)


The candlesticks are from World Market and I picked up the blue and green tapers from Hobby Lobby.  The decorative green ball is also from Hobby Lobby.  The antlers are leftover from my Fall wreath and I made the simple felt leaf garland after coming across Sarah's tutorial.


The autumn essentials print was a freebie from Jones Design Company.  I've had the hourglass for a few years (I think it was from Hobby Lobby) and the pumpkins are faux pumpkins from Joann's that I spray painted metallic silver last year.


Sorry for the crappy pictures.  I was experimenting with lighting and it did not go well.


We have finally mounted the TV and I put up a gallery wall around it.  Unfortunately, this living room is just getting waaayyyyy too busy so I think the gallery wall is coming down.  :(  I'm finding I have difficulty not filling up empty wall space.  It's days like these that I wish I had an interior designer on speed dial.

Hope everyone enjoyed their Fall weekend!

Friday, October 11, 2013

Hydrangea and Antler Fall Wreath

It's finally starting to feel like Fall around here.  To me, Fall is such an amazing time of year.  I love it for its crisp mornings and colorful leaves.  It's the time of year to enjoy sipping hot beverages on the front porch, relaxing around a fire at night, watching college football, dining on hearty soups, and taking spectacular hikes through the woods.

Now that the temperatures have dropped a bit, I've started decorating for the season.  Although I love traditional Fall colors like orange, our house is decorated with mostly cool colors.  So for Fall this year, I decided on a green and blue theme.


I also wanted simple, organic decorations.  I wasn't feeling the spooky, ghoulish decor this year.  I turned to Pinterest for inspiration and then set out for the craft stores to gather supplies for a Fall wreath.

Normally, I don't like fake flowers.  To me, they look fake.  But these hydrangeas from Hobby Lobby are some of the most convincing faux flowers I've ever seen.  And when I spotted my gold flecked burlap in ribbon form...well...I couldn't say no.


I started by wrapping a grapevine wreath with the burlap ribbon.


Then, I used my hot glue gun to add the hydrangeas.


(Don't mind the white pumpkin - it didn't make the cut.)


Seth procured a couple of antlers for me from a coworker of his that hunts and I used green floral wire to secure them to the wreath.


I concealed the floral wire by wrapping it with twine, and then added a wooden acorn and some dried seed pods.


Then, I added some green ribbon and introduced her to our newly painted front door.


I think it has a nice earthy feel.


I also put together an inexpensive Fall mantel that I'll share with you early next week!  Happy Fall!!!