Tuesday, February 26, 2013

Progress in the Kitchen

I've got a few kitchen updates to share with you today.  The room is coming along and I'm quite pleased that we've I've finally made some color decisions.  I have finally decided on the cabinet color.  Although I absolutely love colorful cabinets, I decided it would be smarter to stick with a neutral color.  I will not be painting the cabinets twice.  A neutral color will allow us to switch up the kitchen color scheme in the future if we feel so inclined and the neutral cabinets will be much more appealing to buyers if/when we sell this house (we don't think this is going to be our forever home).  Drumroll please.......the cabinets will be.......gray.  So, with gray cabinets, light counters (possibly these), white walls, white molding and who-knows-what for the floor, there isn't going to be a lot of color going on.  Due to the lack of color on the cabinets and walls, we busted out the paintbrushes and rollers last weekend and got to work on the ceiling.  The ceiling?  Yep. We're crazy like that.  This is the picture that originally got my wheels turning.


Seth and I aren't normally color-on-the-ceiling people.  We spent quite a bit of time and energy in our first house painting the ceilings back to white (the previous homeowners had carried their wall color onto the ceilings and we changed all of the wall colors anyway). But I fell in love with this kitchen (the faucet, white cabinets, and marble countertops didn't hurt).  I just love how this kitchen is neutral everywhere except for the ceiling and a few accessories.  And then there is that pop of color.  Delish!  

Weeks ago, I painted a couple of orange samples on some poster board and taped them up on the ceiling.  After keeping them up there for a couple of weeks, I decided it just wasn't going to work.  I'm not exactly sure why, but I think maybe they were just too dark for our small kitchen.  All I know is that it wasn't right.  So, we moved on to other color options.  

Here is where we landed.


It's Benjamin Moore's Sesame (same as what's in our office).  And here is a little before and after.


I am liking the warmth it brings to the space.  

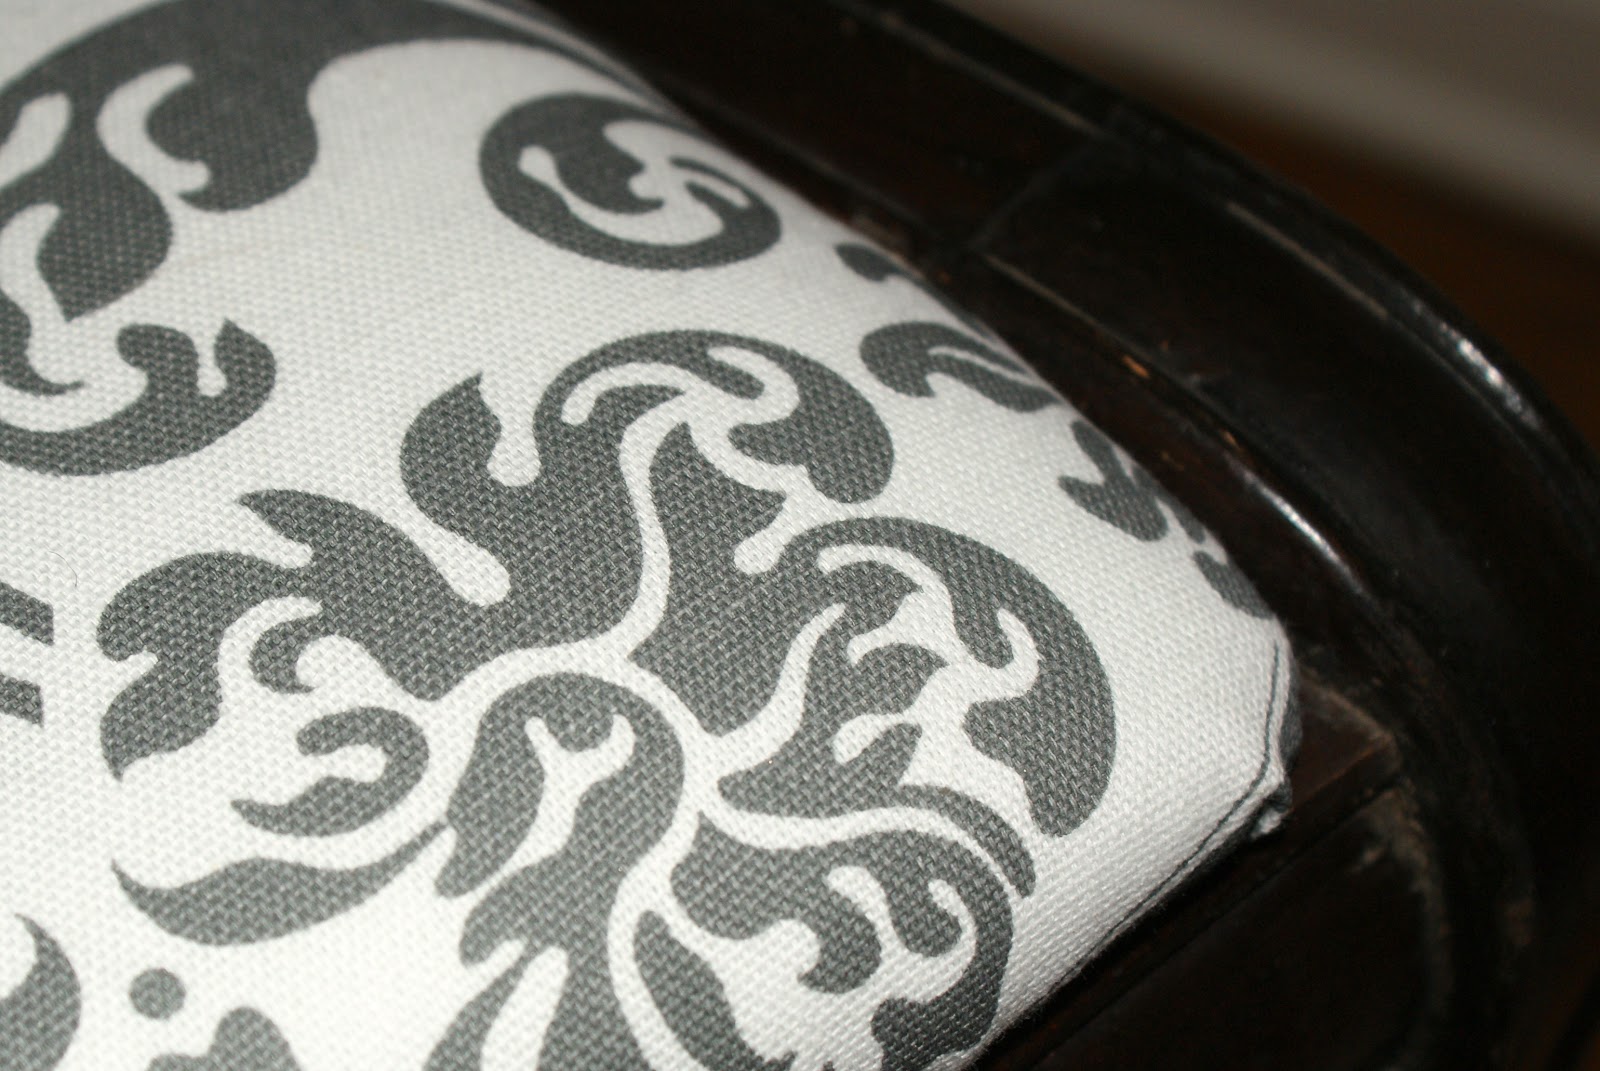
Just before we nailed down the color for the ceiling, I ordered some fabric for curtains (Braemore's Gazebo pattern in the Cloud color way).  It was a bit of a splurge, but worth it in my opinion (still cheaper than purchasing most ready to hang curtains).  When it came, we just made sure that the sesame was going to work with it.  I figured it should be fine though because John and Sherry over at Young House Love (I highly recommend their amazing blog) have the same color in their kitchen and recently used the same fabric to make a faux roman shade for their kitchen window.  See that here.  


Yesterday I washed the fabric (always do this before measuring, cutting, and hemming since it will shrink some) and got to work on making some curtains.  


I used some Stitch Witchery from JoAnn's and finished off three edges.  I then measured to determine how much I needed to "hem" the last edge so that the curtains would just touch the floor.  I'm not a huge fan of the pole pocket type curtains and I didn't feel like making tabs.  So, I went the easy route and bought some curtain clips.  They were half off at Lowe's!


And here they are in all their glory.


I purposely ordered some extra fabric in case I decide to make a valance, roman shade, or cafe curtain for the window over the sink.  Time will tell.  

The third change is a big ugly opening that Seth made for a taller refrigerator.  Pretty much all fridges these days are at least 68 inches tall.  Our opening was only around 66 inches tall.  We found a fridge at Lowe's that we are very interested in.  I'll let you know if we pull the trigger on that purchase.  (Big purchases make me a bit nauseous.)  So, in anticipation of a new, taller fridge, Seth went to work on the opening with his new toy (a reciprocating saw).


There was a lot of noise as I was trying to watch the Oscars.  And there was a lot of dust.  I worked on my curtains and stayed out of the way.


I think Seth got a bit overexcited with his new saw.  Men.  He promises me that he will fix it and make it look nice again.  I certainly hope so.  We also have plans to close in the two upper cabinets that remain.  I'll keep you posted.  

Yay for more kitchen progress!  When spring decides to arrive with its warmer temperatures we will tackle the cabinet painting.  I'm still dreading the work but excited about the end result.  Slowly but surely, people!

Thursday, February 21, 2013

Sparks Flew

No, this post is not about how Seth and I met or anything else romantic.  You'll have to read on a bit for the title to make sense.  You may remember that I mentioned in part I of our house update post how I was thinking of moving the living room chandelier into one of the guest bedrooms.  My only real issue with it is its size.  I guess size does matter after all (well, in this case anyway).  It is just a bit small for our living room.


I wish I had a better picture for you, but hopefully you can get an idea of the scale problem by looking at the one above.  A few weeks ago, Seth and I were poking around an antique store just outside of town when I spotted this chandelier that I thought could definitely work in the living room.


I went over to check it out while Seth was paying for our purchases and the tag said $8. Yes, eight dollars.  I pointed it out to Seth as we walked out of the store, but he didn't seem too excited about it.  As Seth was about to back the car out of our spot and head home, I told him I thought we just needed to go for it.  We decided that even if it didn't work, we could 1) have it rewired, 2) use it solely as decoration, or 3) be glad we took a chance on it and spent only $8.  We got back out of the car and went back inside for Seth to examine it further.  A few of the sockets looked like they had possibly caught on fire at some point as there were black marks on some of them.  We bought it anyway.  Yeah, we're risk takers.

At home, we ran into two problems.  First, I realized that the fixture itself was over two feet tall.  We have eight foot ceilings.  As you may have noticed in the photo above, the chandelier is in the middle of the room.  With our current furniture set up, the middle of the room is the main pathway through it.  Have you figured out where I'm going with this yet?  We were going to have to do a little tweaking to keep Seth from running into it or having to duck underneath it daily.  Second, after testing it out, we found that we had one socket that wasn't working.  Although this needed to be fixed, I was shocked that only one socket had a problem.  Not bad so far for $8.

Seth went to work on replacing the socket (after a quick trip to Lowe's) and I brainstormed about the height issue.  Two sockets and a small fire later (it was his first time replacing one), Seth had the light working!  (Don't worry - the fire was contained within the light socket.  Cooter did have a mild panic attack and ran out of the room, but there were no permanent injuries.  However, after he recovered and braved the room to check out the light a second time, Rafie sneezed and he bolted out for good.  Poor Cootie.)  I was not so lucky with my height dilemma.  Seth removed the upper part of the chandelier and I was left with this.  Not bad, but not great.


My original idea was to purchase a stair spindle or a turned leg of some sort, cut it down to size, drill a hole through the middle, paint it gray, and add it to the top of the chandelier. I had something kind of like this or this in mind.

So, I went to Lowe's and bought a spindle.  Then we measured and fit a couple of pieces together.  This was much more difficult than it sounds since we had to make sure that the pieces we were planning to attach were the same diameter.  


Despite careful cutting, multiple attempts to sand them level, gorilla glue, and toothpicks it just did not work out.  Additionally, the dog thought it was a chew toy the next day while I was showering.  Fail.  It was then that I decided it didn't look too bad with the top piece missing after all.  So we hung it up.


Maybe one day I'll try to add something to the top again, but for now it's staying as is.  I would estimate that we spent around $15 total on this chandelier including the two new sockets, the spindle that ended up being a bust, and new candle covers (since some had black discoloration on them).  Say what?  Can you beat a new chandelier for $15?  I think it would be difficult.  

Has anyone else found an amazing deal on lighting for their house?  Or made your own chandelier?

Monday, February 18, 2013

Clean or Dirty???

You may recall that Seth and I added a new dishwasher to the family a while back.  She has a little light that comes on after each cycle to let you know that the dishes are clean, but the first time you open the door after the cycle is complete, it turns off.  This has already caused a few problems.  Seth will often grab his travel coffee mug out in the morning and then when I get up and start fixing dinner (I work nights), I'll start throwing dirty knives and cutting boards in before realizing that the dishes are (or were) clean.  Whoops!

I browsed online for a clean/dirty magnet to purchase, but didn't have much luck.  I'm a picky person.  I know a dishwasher magnet doesn't seem like a big purchase, but I've found that I am much happier when I limit my purchases to things with which I am absolutely in love.  If I had settled for a dishwasher magnet, I guarantee I would have tossed it within a month.  I don't like wasting money.  Even $2-3.  It adds up, people.  When I came across this, I new my search had ended.


I printed it on some white cardstock, laminated it, and stuck it to a magnet.  


And now, we will always know the status of the dishes inside our new dishwasher (that is, if everyone remembers to flip the magnet).  


It says "completely clean" and "disgustingly dirty" in case you can't read it.  The bright green/yellow and the medium gray colors will fit in perfectly with our planned kitchen color scheme.  In fact, we painted the ceiling this weekend (!!!).  Post to come soon.  Stay tuned.

Thursday, February 7, 2013

Recovering Accent Chairs

A few months ago, I found a couple of chairs at a local antique store that I thought would be perfect as accent chairs in our guest bedrooms.  I wanted guests to have a place to put their accouterments other than the floor or a place to sit and take their shoes off (or put them back on).  I think I paid around $30 each for them.


The chairs were in decent shape overall, but the fabric on the seats was definitely not going to work in our house.  I picked out a couple of new fabrics from Hobby Lobby and set to work.


There were just 4 screws (one in each corner) that needed to be removed to free the seat.


I saved all the nailhead trim cause I'm thrifty like that.  Who knows when I may want it to embellish another project.  A second problem that I ran into was that the wooden seat bottoms were old and warped.


Yikes!  Those were definitely going to need replacing.  Don't you love the ugly green fabric I found underneath the striped one?  It had seen better days.  Disgusting.  After removing both seats, I spent a bit of time wiping down the wooden frames with a warm water/white vinegar mixture.  If the nasty green fabric is any indication, these chairs have been used and abused, and I wanted to wipe away as much of their past lives as possible.


Here are the supplies you will need:

  • 1/2" thick piece of wood cut to fit your seat bottom
  • 1" thick high density foam (it will wear better than the cheaper low density stuff)
  • batting
  • fabric(s) of your choice
  • staple gun
  • Scotch Guard (optional)


Warning: Do not make the same mistake that I made and purchase 1/4" thick wood for the seat bottom believing that it's thick enough. Let's just say that I completely recovered one of the chairs and sat in it before realizing that it would not work.  It held my weight but I could tell it was not sturdy.  When Seth got home, I asked him to test it and there was some definite cracking when he sat down.  Whoops.

Back to the project.  Seth cut the wood for me with our circular saw.  (I can't cut straight with that thing - I think we've already discussed how it is made for righties and is impossible for my lefty self to use.  If you don't know what I'm talking about just try using it in your left hand next time.  The blade is then out of site, making it impossible to see where you are cutting.  Oh the unfairness of a lefty living in a right handed world.  Can I get some sympathy here?)  

I cut my foam approximately 1" larger than the wood all around and used spray adhesive to attach it.  I then wrapped the batting around the board and the foam, pulled it tight, and stapled it in place.


Attaching the fabric is the most important step (I realize that is probably obvious, but I thought I would remind you anyway).  If you've chosen a patterned fabric, you want to pay careful attention to the pattern placement.  There is nothing worse than finishing your seat, flipping it over to admire your work, and realizing that your pattern is completely off center or crooked  (although I sound like I speak from experience, I actually thought about it ahead of time for once, and this didn't happen to me).  After lining up my fabric, I wrapped it around the seat, pulled it tight, and began stapling.  I stapled the sides first and saved the corners for last.  I don't have a steadfast method for securing the corners.  I just kind of play with the fabric until it lays the way I want it to and then I get on that sucker with the staple gun before it moves.  


Here are the two finished products.  Note how the pattern on the gray and white chair is centered.  You can imagine how unintentional and unfinished it would look had I not taken the time to line it up.


The gray and white chair is at home in our first guest bedroom and the green chevron chair is meant for our back guest bedroom.  (We still need to paint the walls in that room - they are not going to remain tan.)


I still need to spray them with Scotch Guard (they aren't attached yet, just sitting on top of the frame for these pics) and also add accent pillows to spruce them up a little and add some needed back support (they are currently not the most comfortable).  I hope our guests use and enjoy them!

Has anyone else tackled a reupholstering project lately?  I'm sure glad I started with something easy like these chairs.  I definitely don't feel comfortable taking on an entire piece of furniture quite yet.  

Saturday, February 2, 2013

A Striped Bathroom

You may remember that I mentioned in the whole house update post that I had an idea for pepping up our plain white-walled master bathroom.  Last weekend Seth and I painted gray stripes on the two walls surrounding our vanity and I am loving the way it turned out.


We chose Valspar's Gravity, which is the color in our first guest bedroom.  I knew I wanted a gray stripe to sit against the vanity backsplash (since it's white) so I measured the height from the top of the backsplash to the ceiling and divided that out, making sure that there would also be a gray stripe up against the crown molding to set it off.  The stripes turned out to be 6.5" inches wide except for the one at the very top which is only around 6" (you can't really tell when looking at it).  

We used the measuring tape to space out the stripes and a level to draw out lines on the wall using pencil.  I also marked "x"s in between the lines where the gray stripes would go (I like to make things as idiot-proof as possible for myself).  Then I carefully lined up the tape on the pencil lines (making sure to tape on the outside edge of  where we wanted the gray stripes).  


To be super safe and prevent bleeding of our gray paint under the tape, Seth and I first brushed the white wall color over the tape edges.  That way if there was any bleeding under the tape, you wouldn't be able to tell since it would be the same as the wall color.


After letting the white paint dry for about 2 hours (it was a thin coat so it dried quickly), we got to work on the stripes.  Apparently, I didn't get any actual pictures of the process, but I think it's a no-brainer.  We used a brush for the edges and for cutting in around the mirror and a foam roller for the rest.  It took two coats and then we removed the tape. After letting the paint dry overnight, I used a magic eraser to remove a few of my pencil lines that were visible (whoops - I had tried to tape outside of them so that the gray paint would cover them up but I guess that didn't always happen).  

And here is the finished product.


The artwork on the left side of the sink is from my Mom (10-2-10 is the date we got married).  The frame used to be a very light wood so I spray painted it dark blue to go along with our color scheme. We also installed a more modern-looking towel bar and a new robe hook on the back of the door.


On the opposite side, I hung a couple of plates (the top one is from Anthropologie and the bottom one is from a local thrift store).  


It doesn't fix the ugly floor tile, but the stripes definitely cheer me up whenever I see them.