My goal was a simple, cheap, easy DIY frame with a clean, modern feel. I picked up some wood in the trim section at Lowe's, cut it to size, stained it, and glued it to the canvas.
I'm definitely pleased with the final result. It adds just enough definition around the artwork to make it visually pop off the wall a bit. And making the frame was super easy (minus a few necessary tweaks along the way that I'll share below so you can learn from my mistakes).
Supplies:
- Wood (I used two 8 foot pieces of 1/4 in x 1 3/4 in x 8 ft pine lattice moulding that I found in the trim section at my local home improvement store for $3.14 each. My canvas was only 1 1/2 in deep but I just left the extra 1/4 in and let it hang off the back of the canvas.)
- Saw (We used a circular saw, but a hand saw would work just fine for these short cuts.)
- Sand paper (I used a fine grit.)
- Stain of your choice (I used Minwax stain in Dark Walnut.)
- Adhesive (I ended up using gorilla glue - see below.)
- Clamps
Simple How To:
- Measure your canvas and cut your wood to size (You could miter the corners but that is too complicated for my taste. I just cut the pieces for the top and bottom to the exact size of the canvas and then for the sides I cut the pieces long enough to overlap the ends of the top and bottom pieces. Make sense? I just added twice the thickness of the moulding onto the measurement for the side pieces to get my final measurement.)
- Lightly sand the cut ends and any rough spots on the lattice
- Apply your stain, let it sit until the desired color is achieved, wipe off, and let dry
- Glue the pieces around your frame and clamp in place while drying (I tried to use liquid nails at first, but it wasn't adhering so I switched to Gorilla Glue. If you've never used Gorilla Glue before you should know that it expands a lot as it is drying. Despite applying what I thought was a small amount, the glue expanded out onto the front of my canvas and I ended up having to use my x-acto knife to carefully chisel away the excess glue.)
- Hang it back up and enjoy your handiwork!
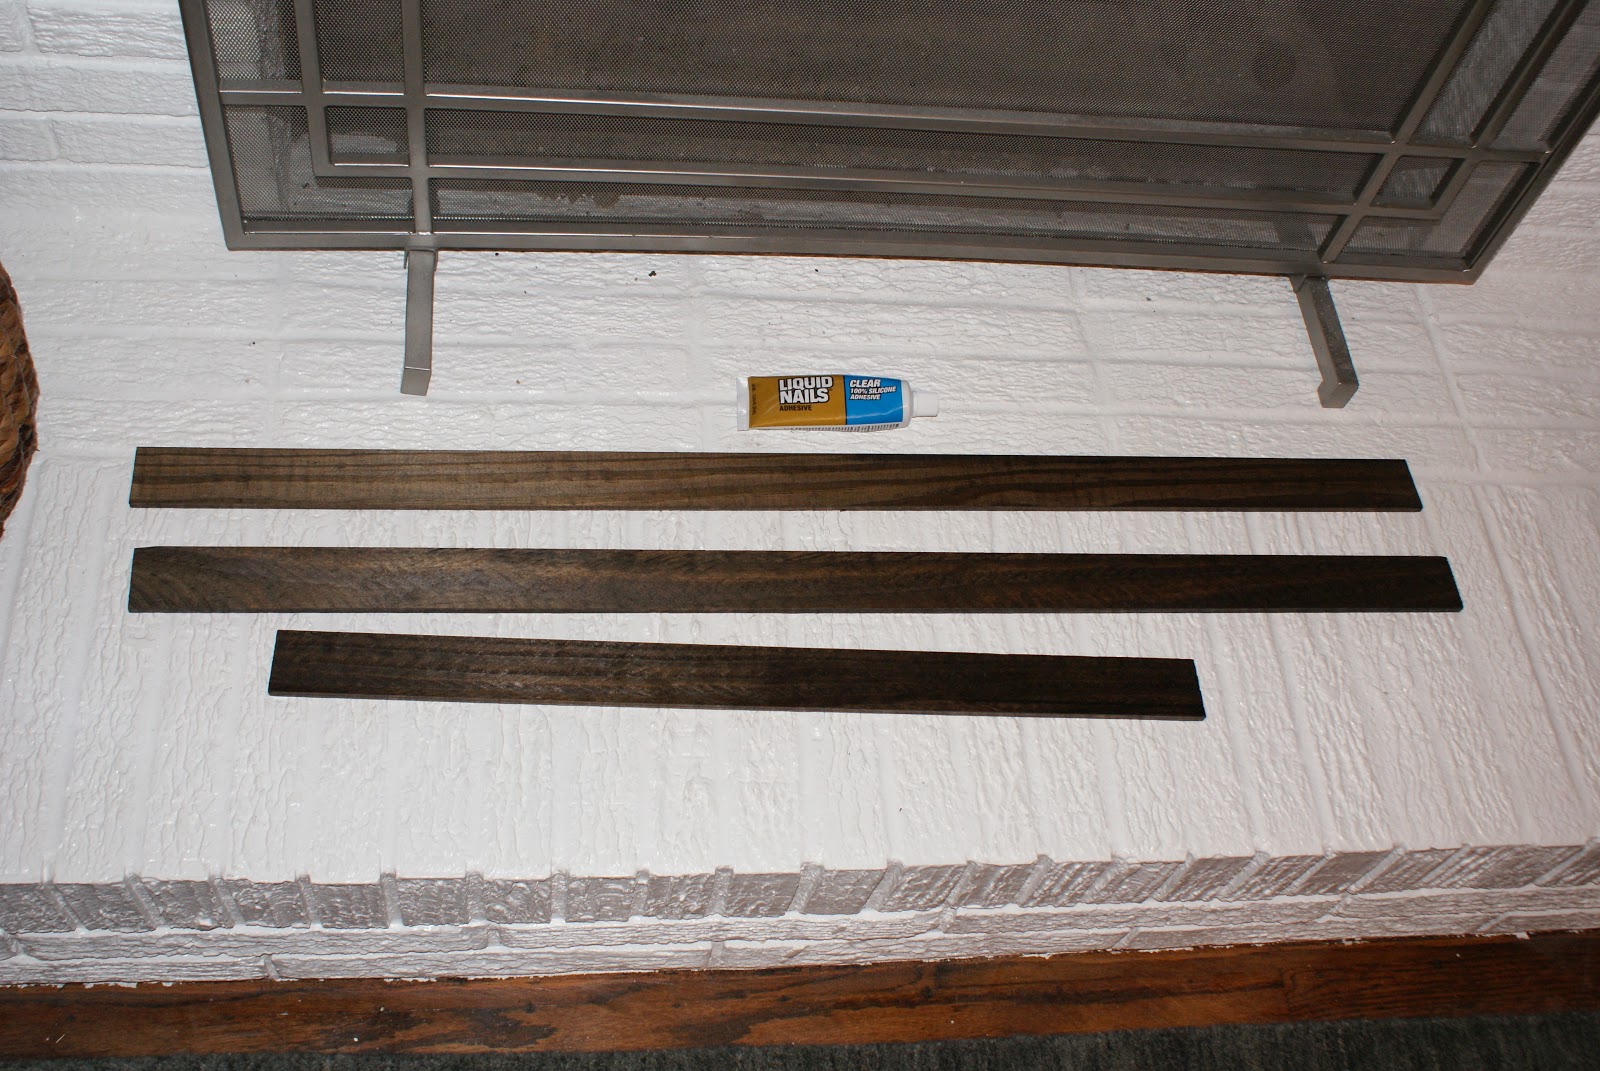
Three of the four pieces stained and ready to go (or so I thought)
**Lesson Learned from Mistake #1: Stain both sides of your wood. It is unlikely that your canvas will be perfectly square, and because of this, the bottom of some parts of the wood will show. I had to remove my first board and take them all back outside to stain the backs.
**Lesson Learned from Mistake #2: Either don't use Gorilla Glue, use much less Gorilla Glue, or stand there and wipe it away as it seeps onto the front of your canvas.
After carefully cutting and peeling it off, it was somewhat less noticeable.
Since the new frame is 1/4" deeper than the canvas, we had to pull the nails out of the wall a bit further so that the wooden part of the canvas was hanging on the nails instead of the new frame. I guess this would also be a way to fake a deeper, more substantial-looking canvas if you had a thin one.
The stain on the entry console is more cherry than walnut, but I think they look alright together. I prefer the walnut color, so I really didn't want to stain the frame to match the console. Who knows how long the console will be with us, if I'll paint it one day, etc. Speaking of the console, did you notice that we added one of the octagonal milk glass knobs to the front drawer? I love the contrast and how it ties into the white on the bottom of our dipped storage baskets.
Obviously, the lighting in the first photo was much better - sorry. We are experiencing an overcast day today. Don't let that fool you - focus on the frame. :) The total cost for this project was around $15 because I bought a quart of the dark walnut stain. If you already owned stain and just needed the wood, the total cost would be closer to $6. I will definitely be using this quick and easy framing technique again in the future.


No comments:
Post a Comment
Thoughts, ideas, suggestions...