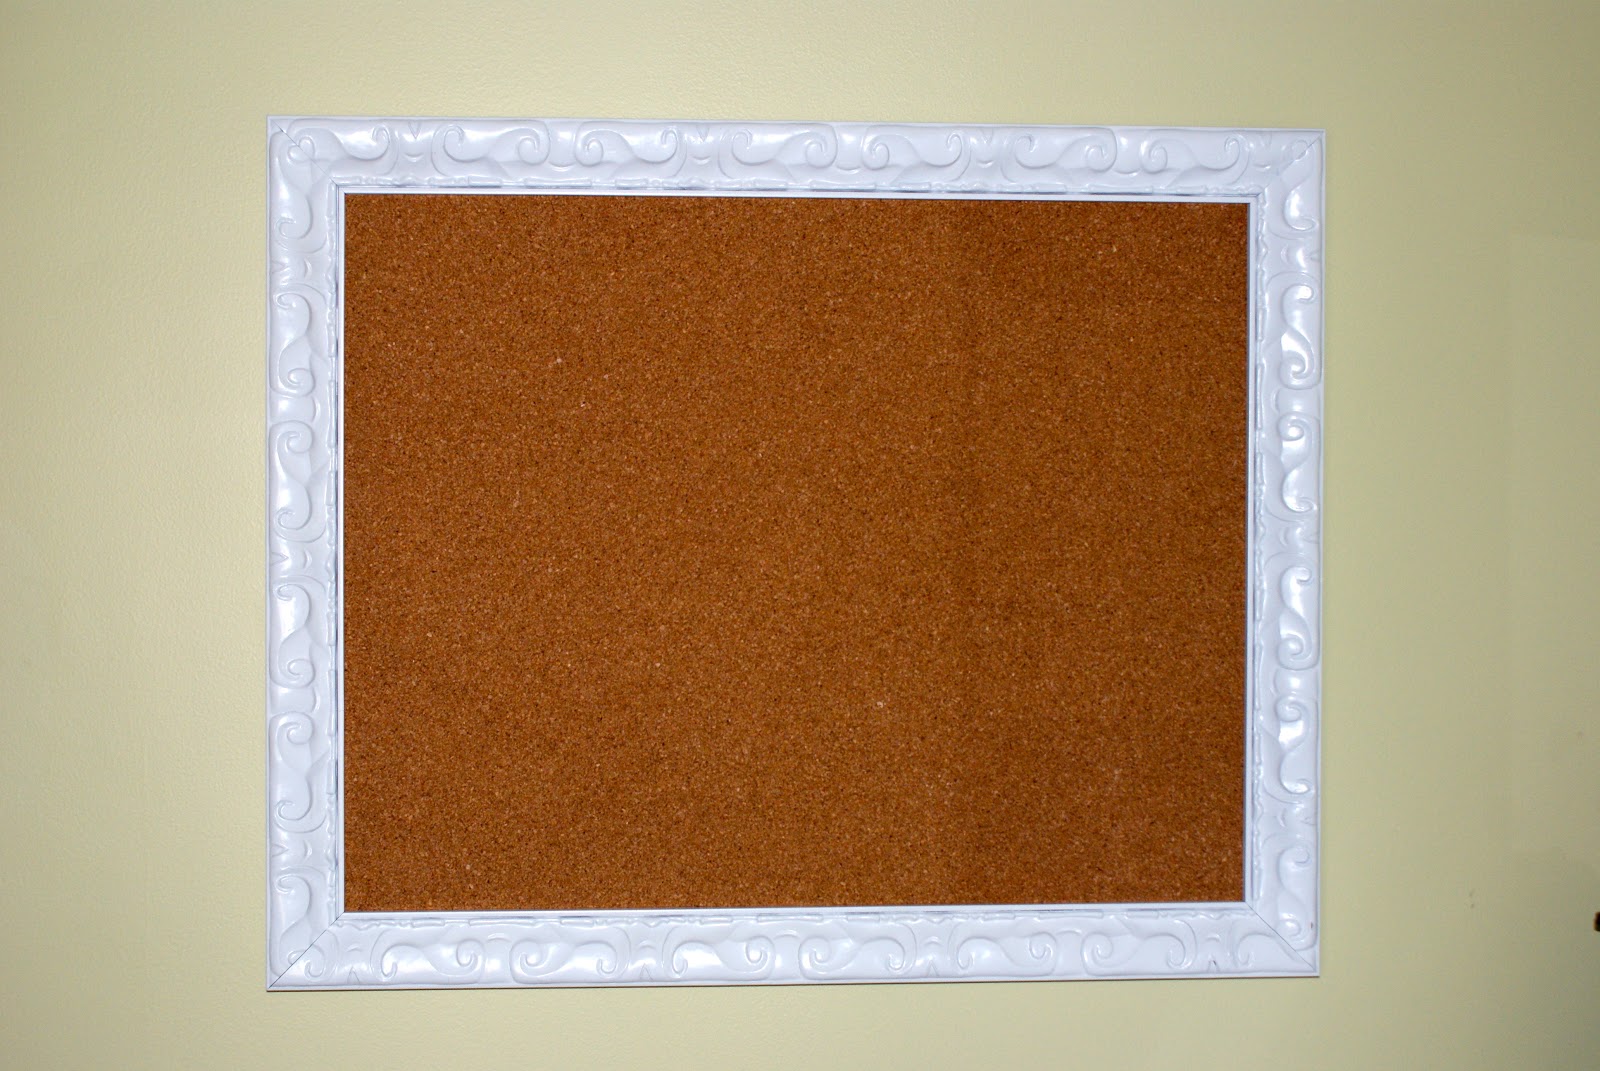
When I spotted this inspiration board that Ashley from Seventh House on the Left made, I knew it would be a perfect addition to our office and I had just the place to hang it. I had been ignoring the large blank wall to the left of my desk until recently when I entertained the idea of some sort of art piece for it. I really get tired of framed art on every wall though, so I try to switch it up with unframed canvases, mirrors (I have an antiqued mirror project in the works so stay tuned), cardboard animals, spray painted cardboard letters, and even plastic animal halves. I'm open to most anything that is different and takes up wall space. I've just never been fond of having framed pictures of myself in every room. I do appreciate the sentimental value of pictures and the memories that they invoke, however, and so we do have a few in the bedroom. I just don't want them in every room of the house. All that to say that I was excited by the possibility of a DIY project that would take up wall space and would be something different and functional.
I started with a 50% off open frame from Hobby Lobby. It used to be silver but I spray painted it a glossy white.
The cardboard from Fred the moose's old frame fit perfectly into my new frame so I removed the orange fabric and started securing the cork squares to it.
Originally, I didn't purchase a roll of cork for two reasons. One - I thought I was going to follow in Ashley's footsteps and paint the cork with chalkboard paint so the lines wouldn't show. Two - I was very concerned about how thin the cork rolls are and I didn't think they would hold a push pin successfully. BUT, when I finished piecing together the cork squares, I realized that the lines between them were very obvious and ugly. I decided against the chalkboard paint because I wasn't in love with bringing black into the room and because I didn't envision myself using it that much anyway. So, I tried spray painting the cork blue.
This is what it was looking like after one thin coat. I could tell it was not going to work. So off to JoAnn's for a roll of cork.
I used spray adhesive to attach it to the cork squares and popped it into the frame. I decided to leave the cork au naturale for now. The next problem was finding a way to hold it in the frame. I used four random L-shaped metal bracket-like things (uh...what?) that I had on hand. No idea what they are called or where I acquired them. I also attached a saw tooth picture hanger.
I am loving the way that it turned out.
And didn't I promise you a picture of our new couch? Without further ado...
I am in love with her clean, modern lines and her textured gray upholstery. I'm so glad she is finally ours. :)


love the cork board frame- cute and purposeful- if that's a word. Yeah for finally seeing your new couch- it's so nice! and I love that really colorful pillow- where's it from? What's next?
ReplyDeleteThannk you for sharing
ReplyDelete